Question 4 |
HOW DID YOU USE MEDIA TECHNOLOGIES IN THE CONSTRUCTION AND RESEARCH, PLANNING AND EVALUATION STAGES?
|
Introduction
In the film industry technology plays a key role in the aspect of production, post production and planning and research. When creating our trailer 'Room 032' we took full advantage of the use of technology to make sure that our Planning and research, production and post production were completed to the point of excellence. We started of with very little knowledge on how to use some of the softwares required for our industry style production and planning and research. As we learned along the way, we came across many stumbling blocks which didn't hold us down but made us stronger even though time was of the essence.
Planning & Research
|
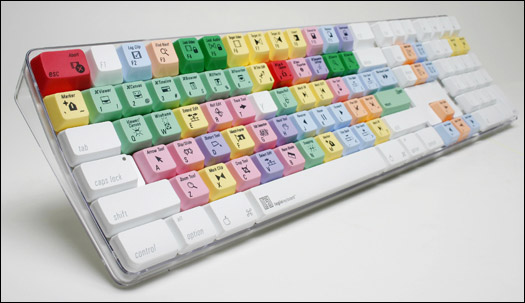
Planning and research is very key as this stage helps layout and visualise our ideas and plans. we used this time to also research on coexisting successful posters, magazine covers and trailers to make sure ours will be as close to professional industry standard as possible. During this period we also learned how to use industry required software's such as Final cut Pro 7 and Adobe Photoshop which where features of the Macintosh.
|
|
|
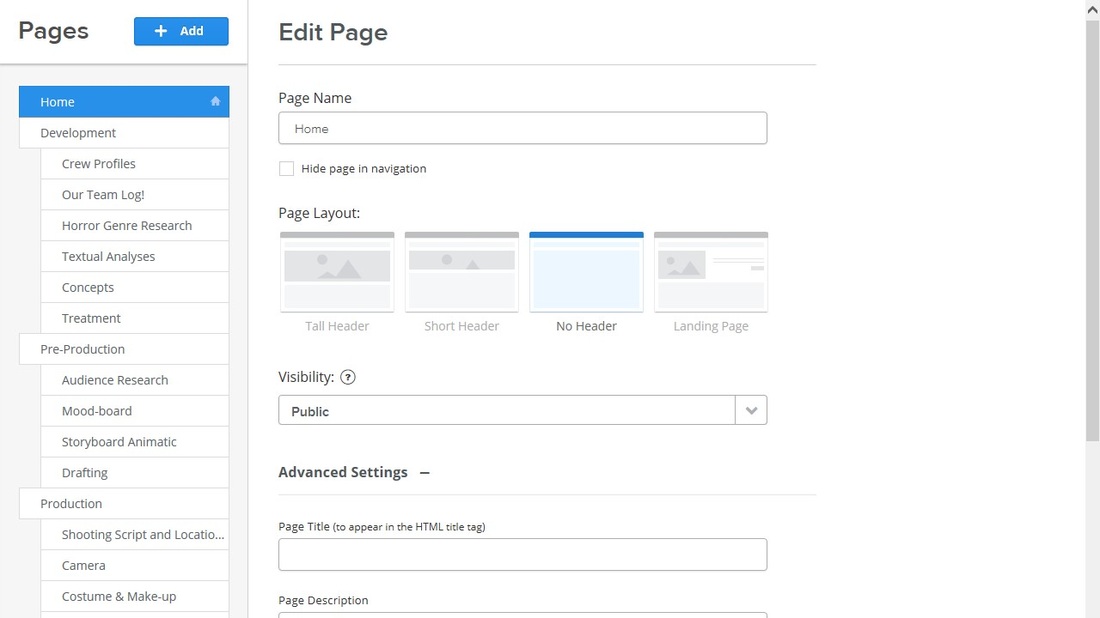
We had to create a website for our production company to assist in us logging and documenting all the work and stages that were required to be undertook to create a successful Trailer, poster and magazine.
|

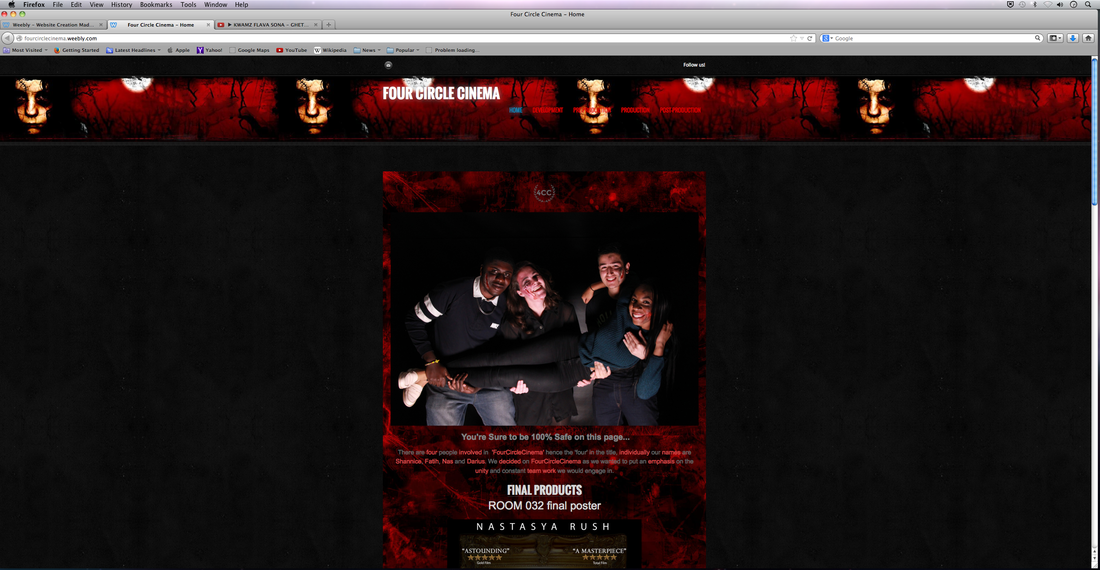
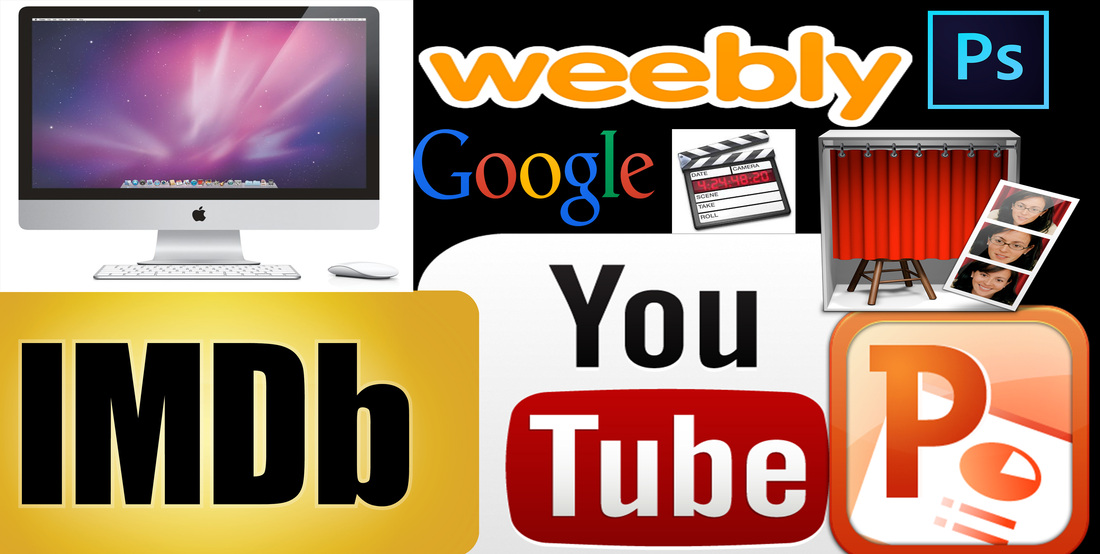
We used Weebly to generate and build our website and this offered us features to create the professional industry style website we wanted. We logged on to weebly and created our account under our production name and started off our website with basic layouts and default background images and banners.
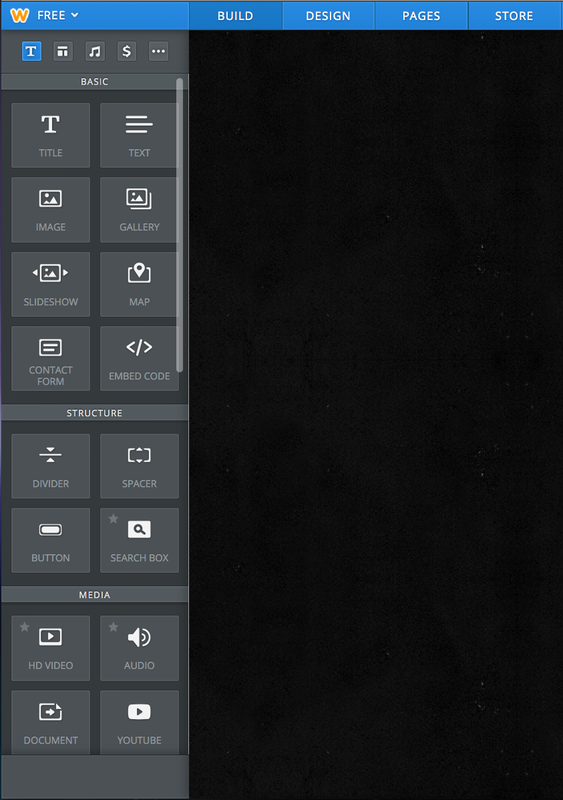
As a group we downloaded and created new banners, generated various unique backgrounds through coding and created a logo to represent our production company and placed this on our website. We took time to create and label separate drop down Menus to make navigation through our website as smooth as a baby's bottom. Weebly provided an elements tab which is split up into 4 different sections called: Basic, Structure, Media, Commerce and more. The basic section helped provide us with titles, text boxes, image with Text, and slides how's and images which we used to write up and present our work whilst the structure section divided our work with dividers and structured it with columns. The Media, Commerce and More section helped provide us with video spaces to place in videos directly from youtube on our website. The commerce and More section was not as important as the other 3 sections were as they had pro Features which we were not eligible for and had other elements which we didn't need to use such as Booking forms and social polls. 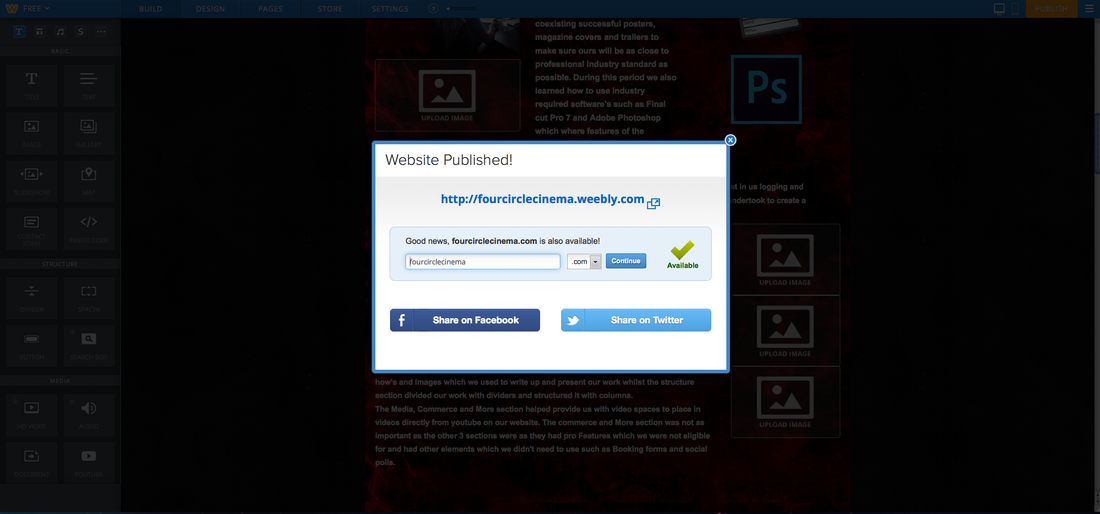
|
|

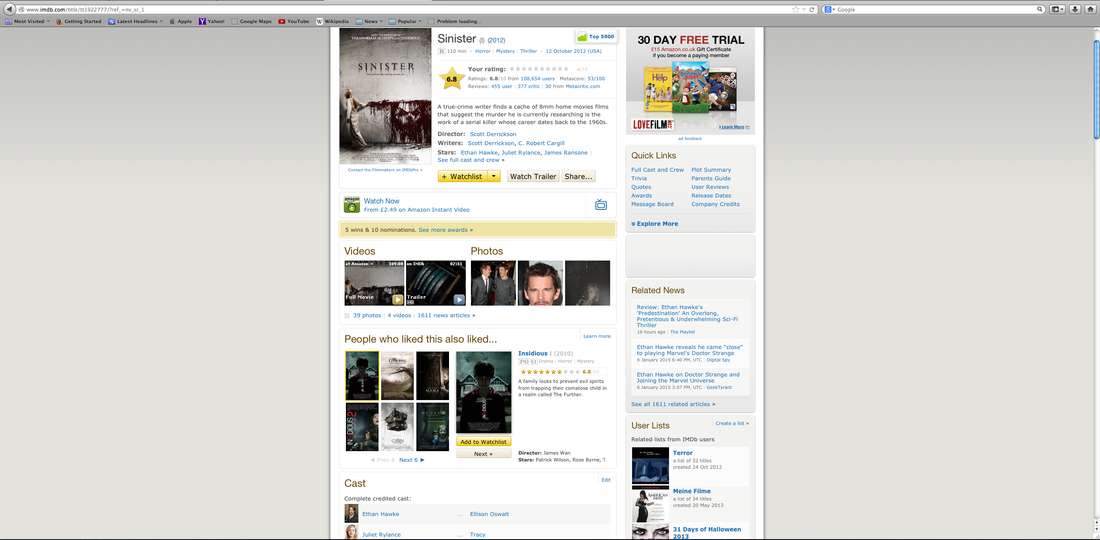
Google is the greatest online search engine that provided is with super speed results on existing media during our research. We used Google to research on the horror genre earlier in the summer to help develop and solidify the basic knowledge on the genre. we also used Google to research on film inspirations, magazine and poster drafts.
|

|
IMDB

-Movie Synopsis' -Cast and Crew -Budgets -Profits |
|
Youtube

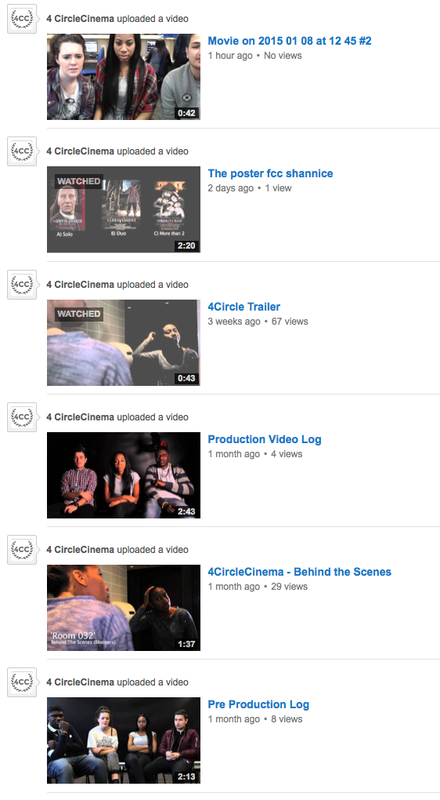
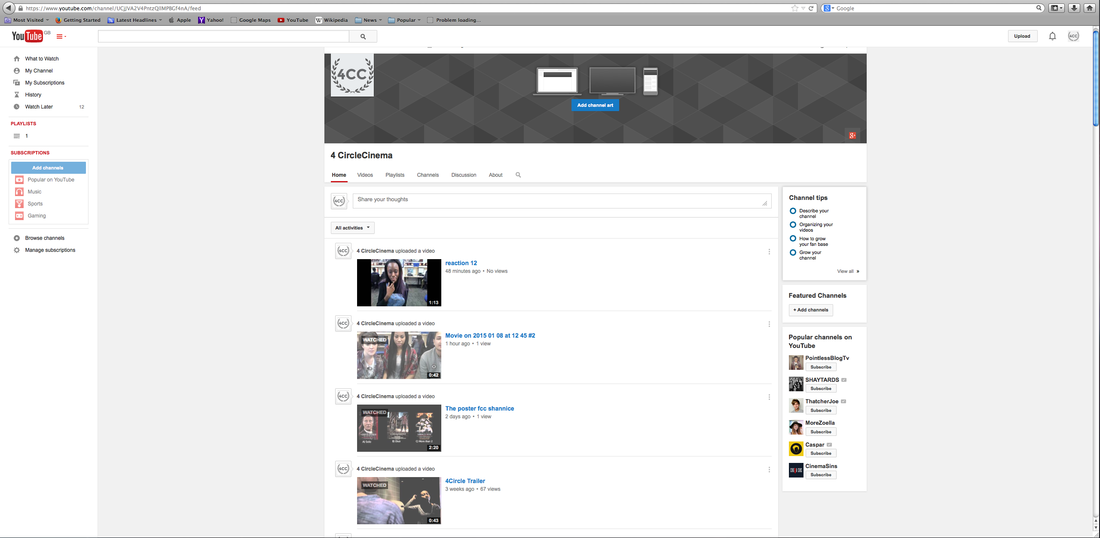
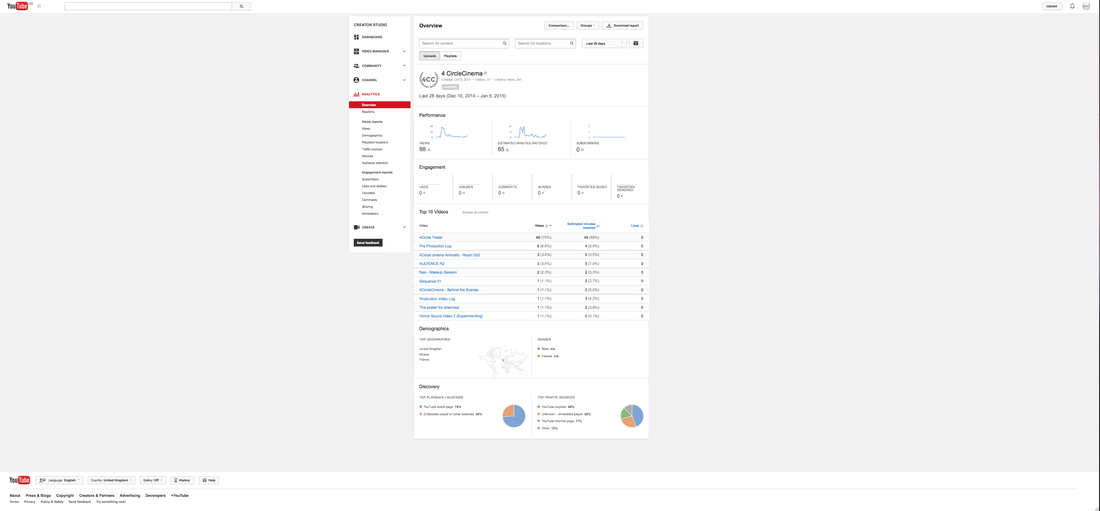
Youtube is a place where you can upload, share and watch videos directly online. We created a youtube account for our production company and used this to Upload videos and post them directly to weebly. YouTube led us a lot as it was easy to get our videos online onto weebly so that not only our teachers but people world wide can access and watch our videos. We were also able to monitor information on our videos through YouTube statistics and this helped provide necessary information on how many people have watched our videos and how far worldwide.
We also used youtube to access online help and tutorials on how to use Photoshop, advanced level editing in Final Cut Pro and costume & makeup tutorials. Ultimately YouTube was very helpful especially when we couldn't directly access our teachers for help we needed. |
|
|
|
Visit our YouTube channel to view more of our videos: https://www.youtube.com/channel/UCjJVA2V4PntzQllMPBGf4nA
photobooth
Photo Booth is an application on the Macintosh (Mac) that allows you to use the inbuilt webcams on the Mac to record yourself without having to set up an external camera. Even though the quality was it as great as a DSLR we were able to use PhotoBooth to record Our own make up sessions and export them to QuickTime files ready for youTube uploading.
|
|
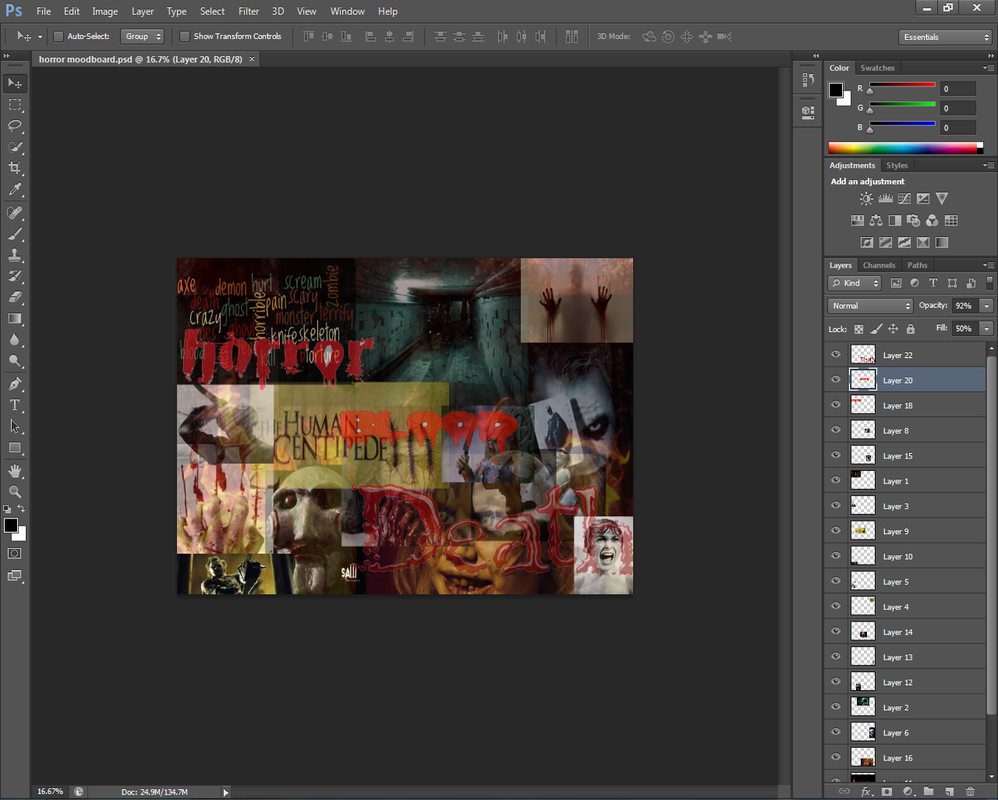
photoshop
Photoshop has to be the most helpful software we used in terms of image design and photo editing. It helped us majorly and contributed dramatically in creating our: Logo, mood Boards and Digital drafts .
Photoshop was used in the early stages of our planning and research as we first used it to further produce a digital copy of our originally sketched logo. We also used photoshop to create our Mood boards which portrayed excellent use of blending and cropping skills. With Special thanks to Nastasya; as she was most experienced, we were able to achieve B grade mood boards. We finally then used Photoshop to further enhance our drawn drafts to transform them into the digital drafts you see .......... |
|
|
|
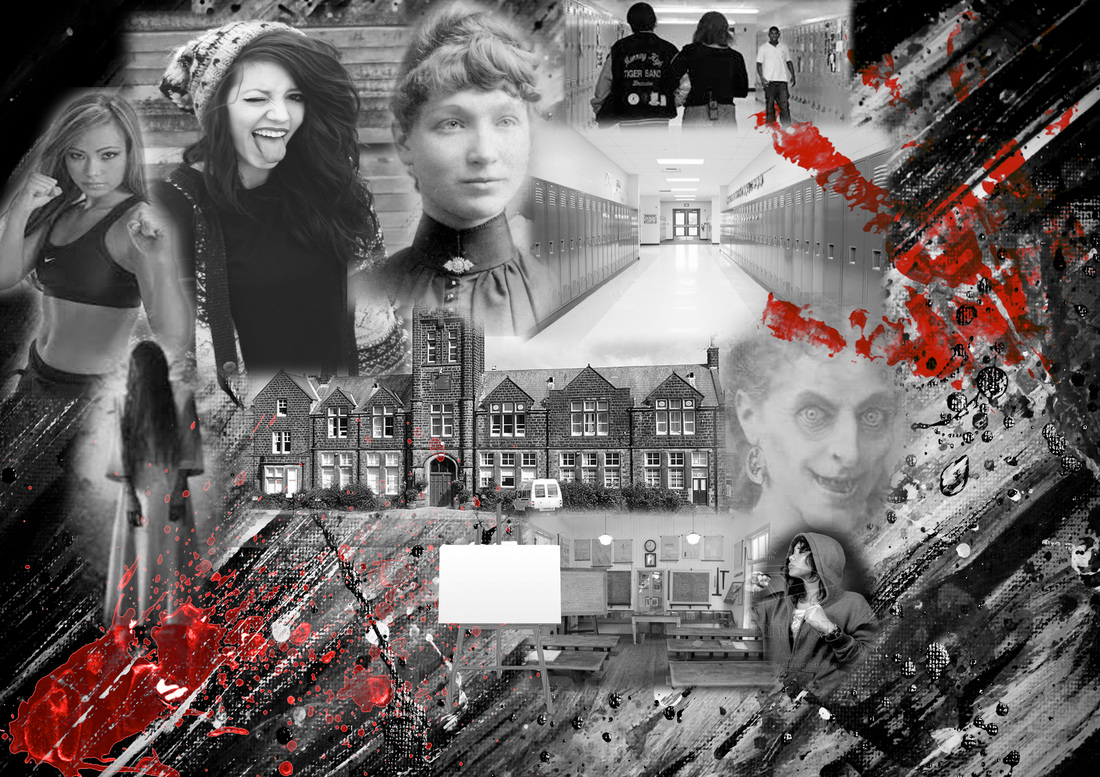
One of our Mood Boards By our group Member Nastasya
|
Final Cut Pro

Final Cut Pro (FCP) drastically helped in the creation of our animatic trailer. An animatic is a story board layered on an existing produced trailer and synced to the cuts of the existing trailer by having the same shot lengths and transitions. We created an animatic to the sinister trailer and because Darius was most experienced on Final Cut Pro due to his cinematography career, we left him to the job.
We also used final cut to create tests shots of the practice sessions we had while working on the cameras during the production stage.
below are a few of our videos.
We also used final cut to create tests shots of the practice sessions we had while working on the cameras during the production stage.
below are a few of our videos.
our Animatic |
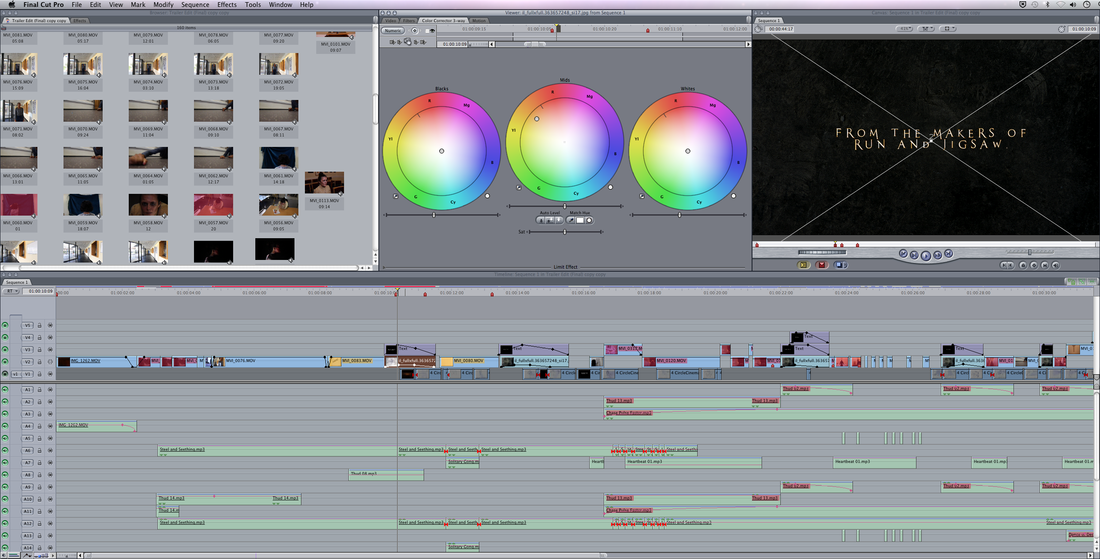
FCP Timeline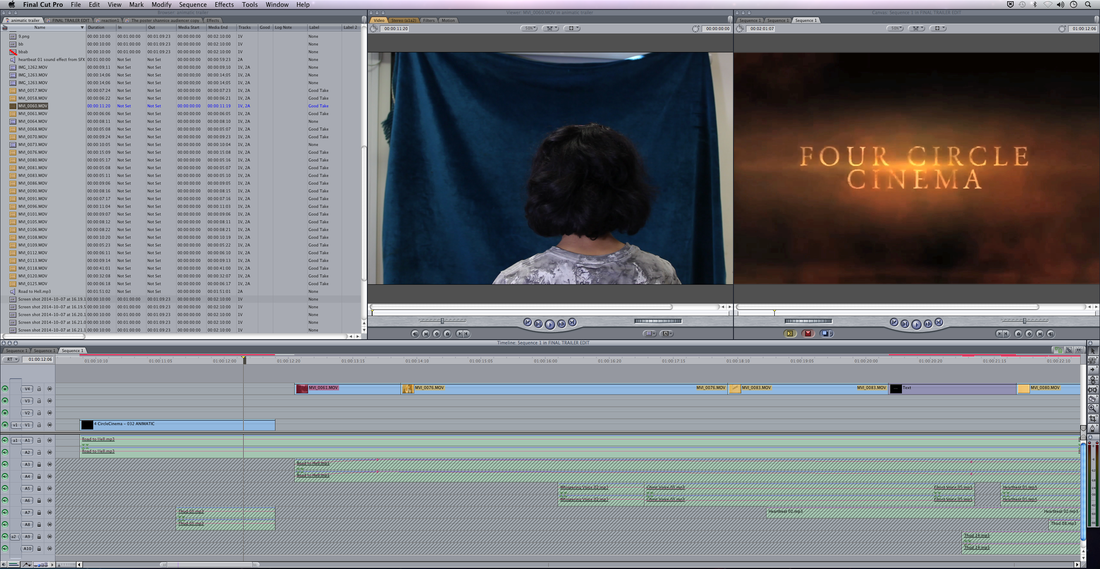
|
our Tests Shots
|
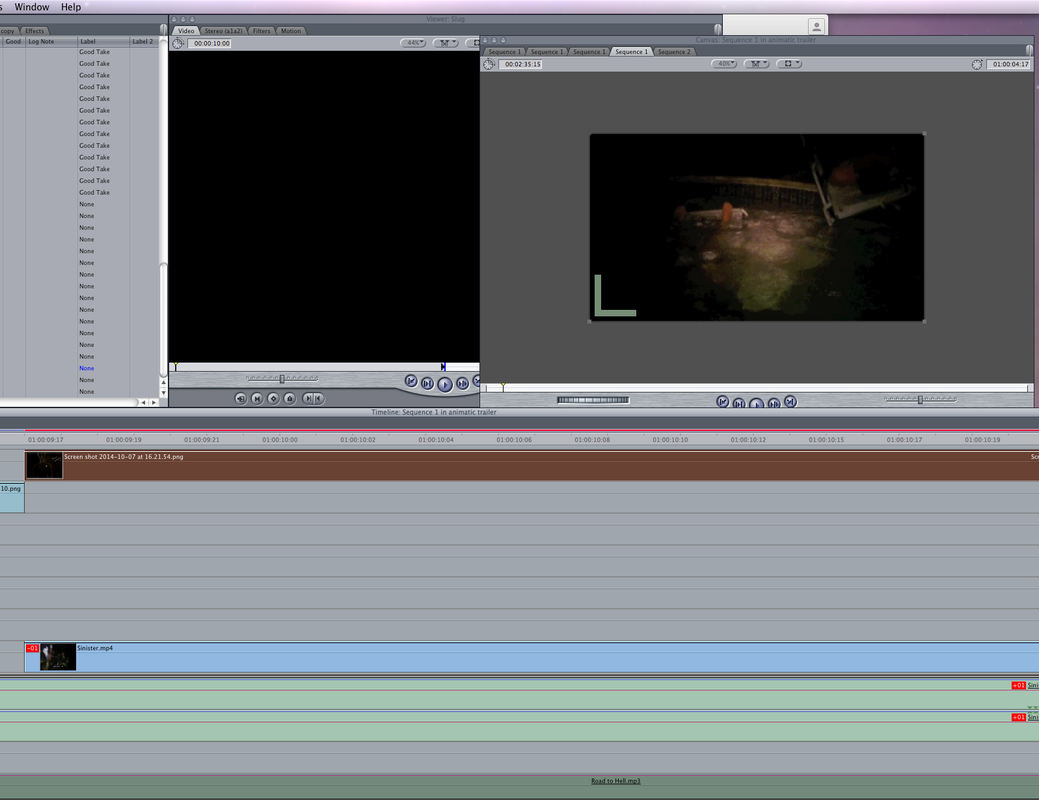
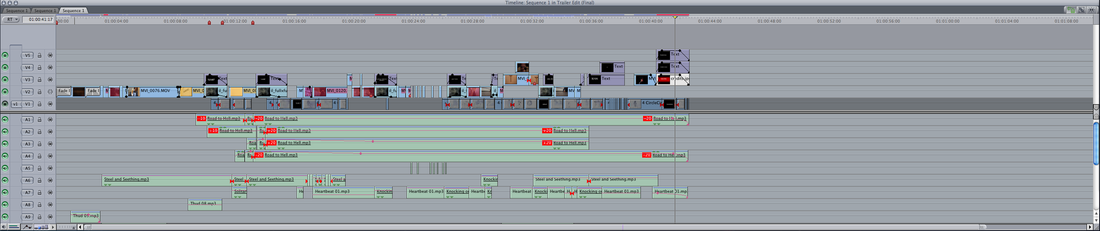
When editing the animatic we simply used final cut to cut and sync our animatic screen shots to the original edited sinister trailer. We first of all cut every cut to the originally edited sinister trailer so this made it easier for us to sync after when we place in our story board screenshots. After labelling our screenshots as good takes as you see in the picture above, we placed each screenshot image from the story board over the existing cut on the sinister trailer.
|
After this our animatic timeline on final cut pro looked like this...

After finishing the animatic we exported this sequence and the final product is the video you see above on the left hand side.
|
The process of Placing the screenshot of a shot from our story
board and placing it above the already cut 'Sinister' Trailer
board and placing it above the already cut 'Sinister' Trailer
Watch More of our edited videos on our YouTube channel: https://www.youtube.com/channel/UCjJVA2V4PntzQllMPBGf4nA
Microsoft power point
PowerPoint is a excellent software that we used to present our initial trailer concepts to our peers. Since we all had experience in using PowerPoint, as a group we did not struggle at all in creating various slides with transitions to present our concepts professionally. PowerPoint helped break down the information through the use of various slides so that our peers would easily understand the specific film concept we were presenting
Below are two of our presentations we created to present our concept to our peers.
Below are two of our presentations we created to present our concept to our peers.
CONCEPT 1
|
CONCEPT 2
|
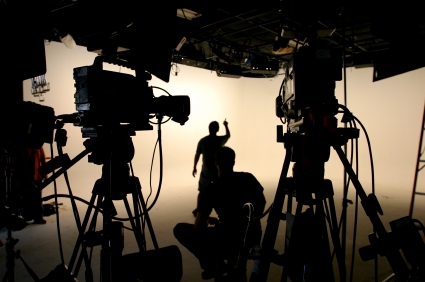
Production

|
Production is the most crucial stage of film production as its in the name (production). This stage covers the creation parts of the the three main elements we have planned and researched for (Magazine cover, Film Poster and Film trailer). At this stage we has time to practice how to use the cameras and its equipment, research on locations, research on audiences and put our costume and makeup to practice. As much as this part of production was fun it was the most time taking stage of all.
|
|
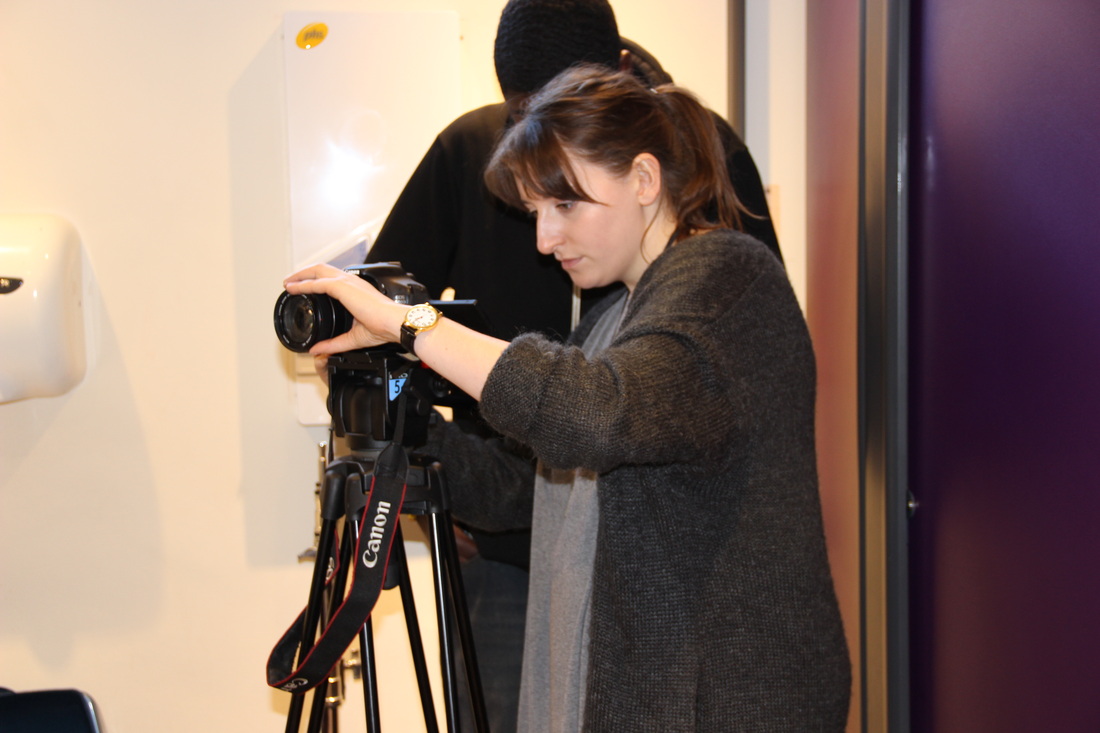
Before we started filming we had practice sessions on how to use the camera and camera accessories such as the tripod, track and doll and shoulder rig. This helped us familiarise ourselves with the camera and using its equipment's. we also used this stage to learn technical information about using the camera and this included
- ISO (this controls the amount of light that enters the camera)
- Shutter Speed (this controls how fast the shutter captures images)
- F. stop point (this controls how much depth of field the shot has)
Below are a few tests shots of how we familiarised ourselves with the camera and our final products after being taught how to use the camera and its equipment.
Camera Tech introduction video log |
Tracking Dolly Test Shots |
Shoulder Rig test shot |
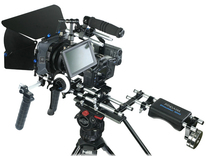
Filming Stage
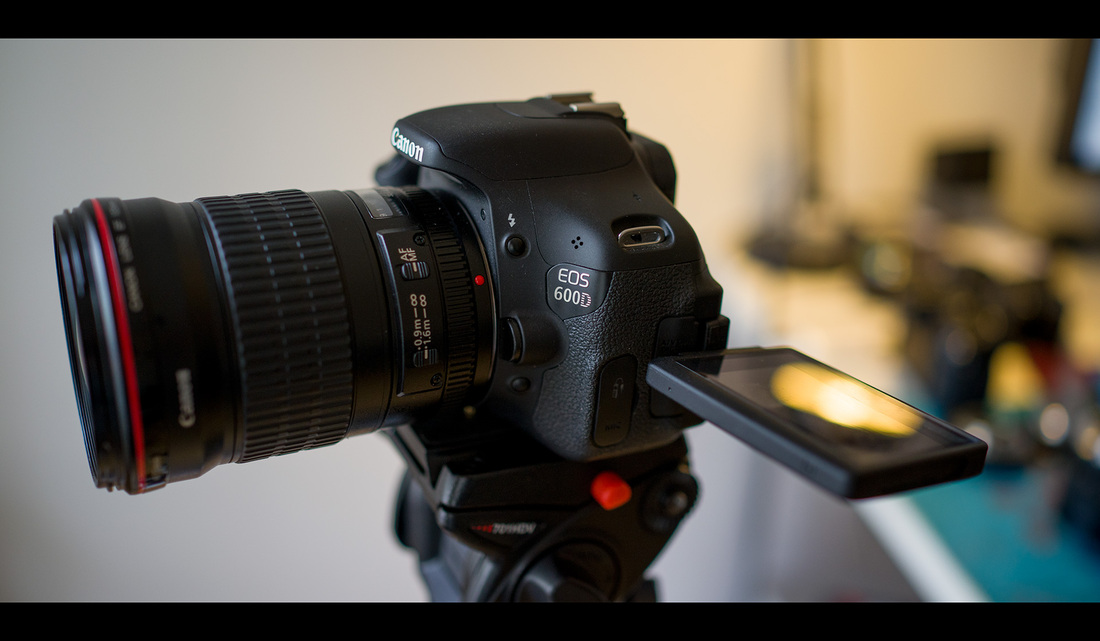
Camera
|
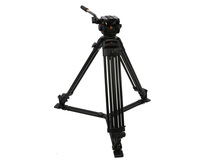
Tripod
|
Lens
|


Track & dolly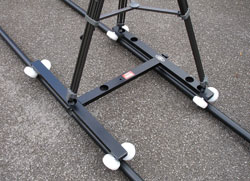
We used the tract and dolly to create the perfect tracking shots we needed for our trailer. We used plastic pipes to build a track whilst we placed the dolly on top of the track. After this the tripod was placed in the track and we were able to achieve the professional looking tracking shots you see on the right.
overall the track and dolly was easy to assemble without the aid of our teachers and technicians as we had a very experienced cinematographer who had a lot of experience using such equipments |
|
|
Here is a unedited and Raw Practice shot of when we were using the Track & Dolly to create a tracking Shot
|
From the practice shot we were able to indoctrinate this skill of tracking in our trailer.
Above is a cut from our trailer which displays us using the track & dolly to create a tracking shot. |
Assembling and using the track and dolly
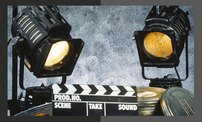
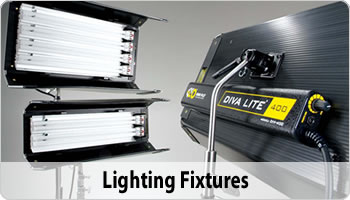
kINO flo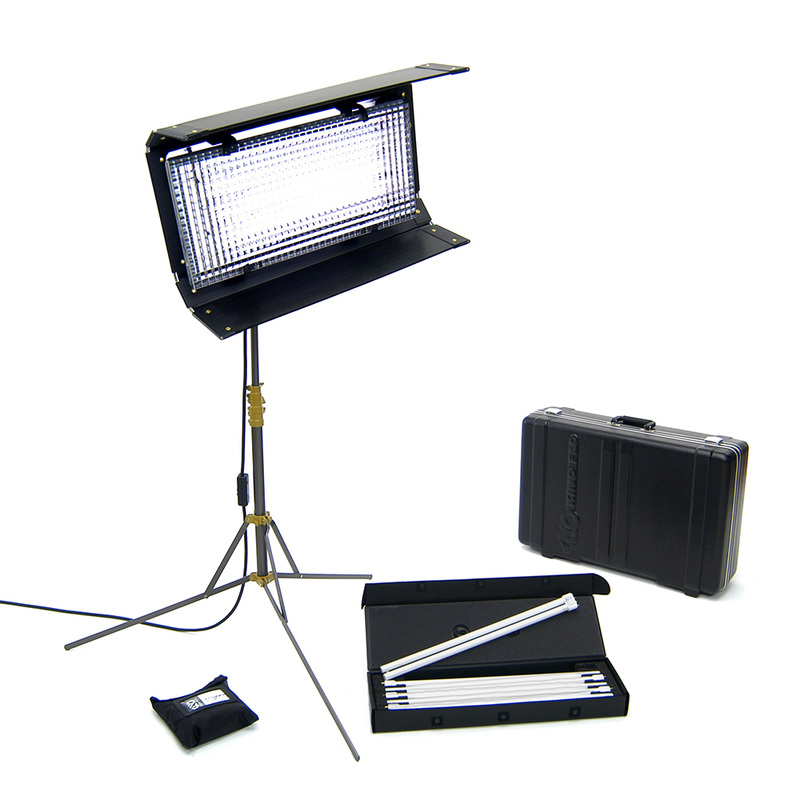
The kino Flo lights are what we used to provide lighting during filming some of our shots. These powerful and lightweight lights are the ones used by professionals cinematographers and film makers during shooting. We normally used the Kino flow when we had a power source to power the lights such as in the Chaplaincy and this made our shoot look more richer and less grainy as we had a strong light source. As mentioned before its lightweight structure made it easy for us to transport and move around the college. Its very simple to set up as all you have to do is place the kino light on the stand so we did not need the aid of our technician at all
|
led light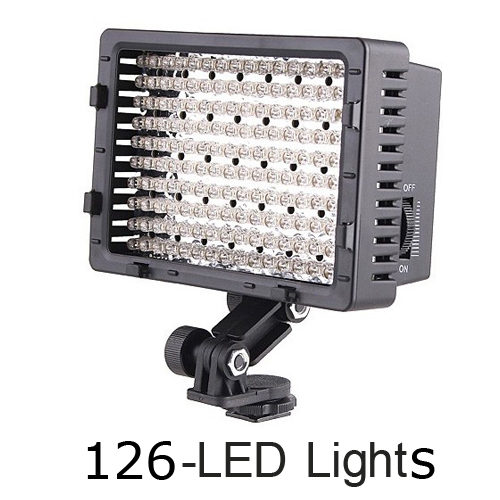
The LED Lights was another fantastic lighting source that was the most beneficial to us while we were shooting. It's compact and super-lightweight structure made it so easy to transport and made it favourable to use as such a little source could provide so much light power. We used the LED lights in all our Shots as it didn't require a power source unlike the kino flo. This LED light provided the perfect lighting when natural light failed us and this made our shots so much richer and once again less noisy (ISO Grain)
This light has a built in horse shoe that sits on top of the DSLR Camera perfectly and this makes it soo much easier to set up even if you have no camera equipment knowledge at all. |
Using Both the LED & kINO flo lights
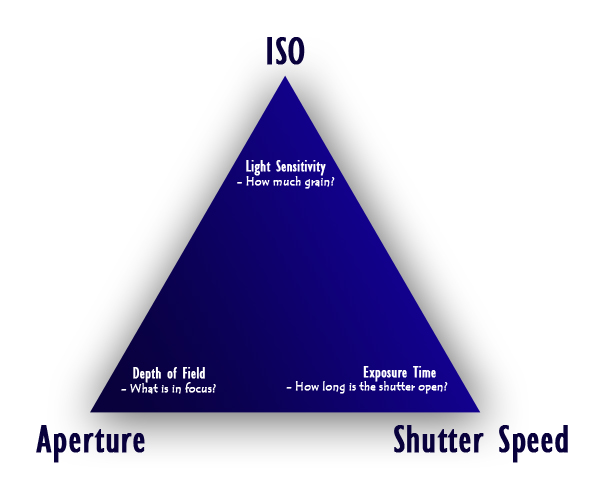
Camera Technologies
|
This triangle sums up all the camera technologies that contribute to having the perfect shots and images. ISO, Aperture and Shutter Speed all work together in a triange and I have learned that without knowing how to use these settings correctly you will have very grainy, unfocused and over exposed video footage. But if you take time to learn how to use these settings correctly you will have the perfect underexposed, focused and minimum grain footage to edit with.
|
ISO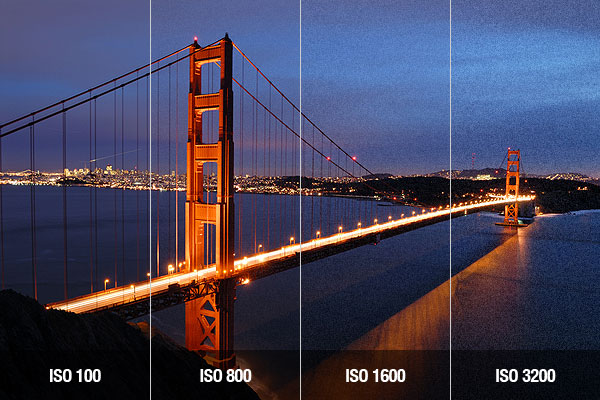
This setting controls how sensitive the light is to the camera generating either a very noise image or a very clean Image (Low Grain). Lighting contributes greatly to the final outcome of the ISO Setting. So in our filming we made sure we used powerful high quality lighting to make sure we set a low ISO so that we have the very least amount of Grain as shooting with low lighting on a high ISO Produces a very Noisy Image.
|
F/ POINT
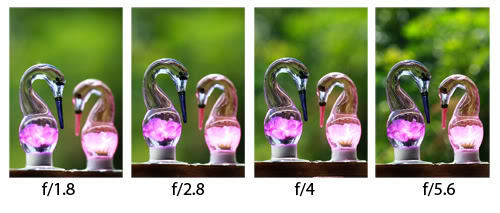
This setting controls how much depth of field your image has when being captured generating either a very shallow depth of field or clear depth of field. Depth of field contributes greatly to the complex advancement of the cinematographer behind the camera.so as we had an advanced and sophisticated cinematographer in our group we played a lot with the depth of field in some of our shots and even though we used a lens with a F/ Of 3.5 we were still able to capture very bokelicious (Shallow depth of filed) video footage.
|
WHITE BALANCE
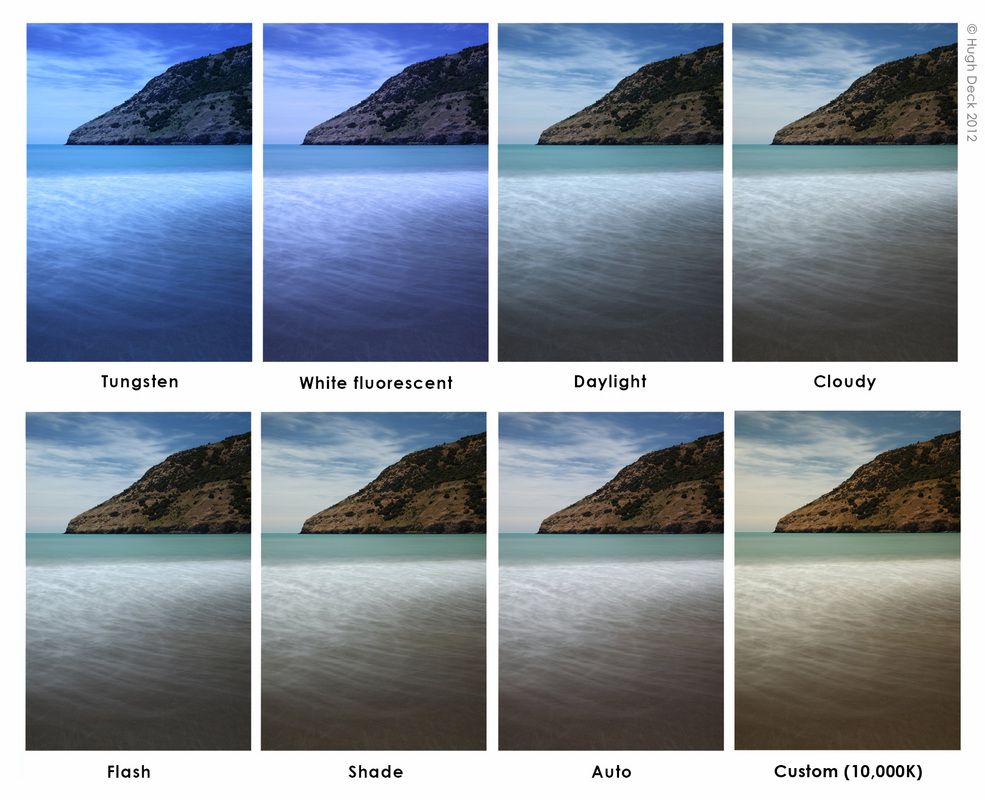
White balance helps a lot in the final and overall colour of your captured footage. The reason we adjust white balance is to get the colors in your images as accurate as possible. From this, as a group we learned that we need to make sure every time we film we asses all the white balance setting to get the best looking colour balance. the image above explains all the options the white balance setting provides.
|
photo shoot sessions
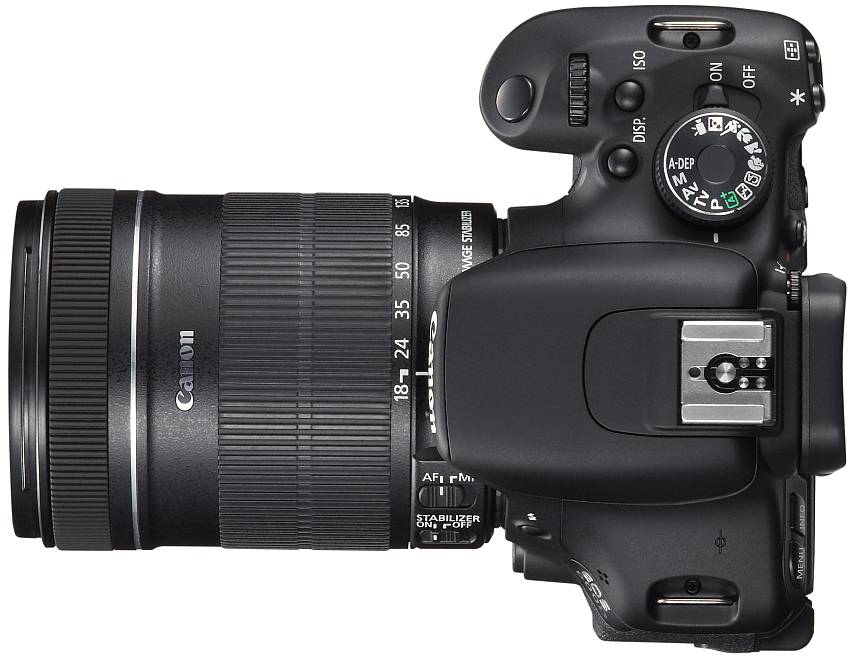
Canon 600D & 18-135mm f3.5-5.6 Kit Lens
During Our Photo shoot session we still continued to use the 600D due to its sharp Camera quality and previous experiences with the other cameras. Also Since we had a great amount of experience with the Canon 600D it was much easier to use which was a benefit to our group. |
|
Kino Flo
As we were in a Studio during our photo shoot for our magazine and poster the kino flow was the best form of lighting that we could have used. The Kino created a powerful light source which was very beneficial in contributing to the results we needed. The light made our images look very professional and well lit just like industry style photos.
As we were in a Studio during our photo shoot for our magazine and poster the kino flow was the best form of lighting that we could have used. The Kino created a powerful light source which was very beneficial in contributing to the results we needed. The light made our images look very professional and well lit just like industry style photos.
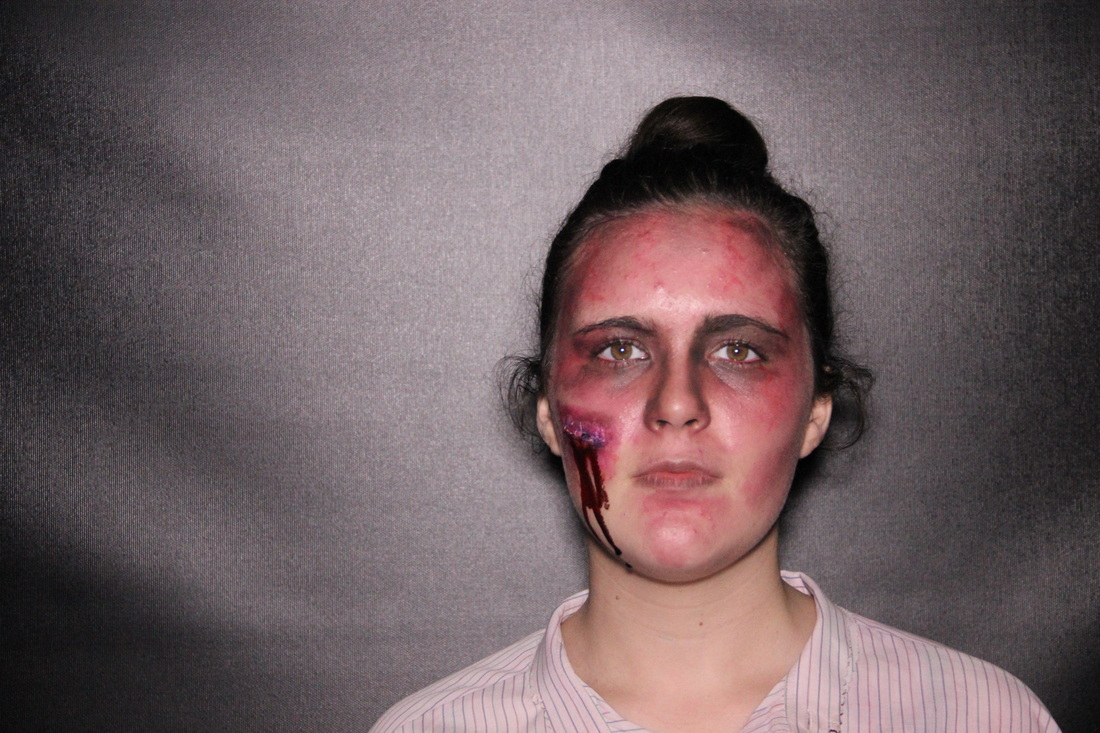
Bad Stills (Bad takes)

This Photo was taken with a light source from the right
This is an example of a badly lit photograph as one side is over exposed |
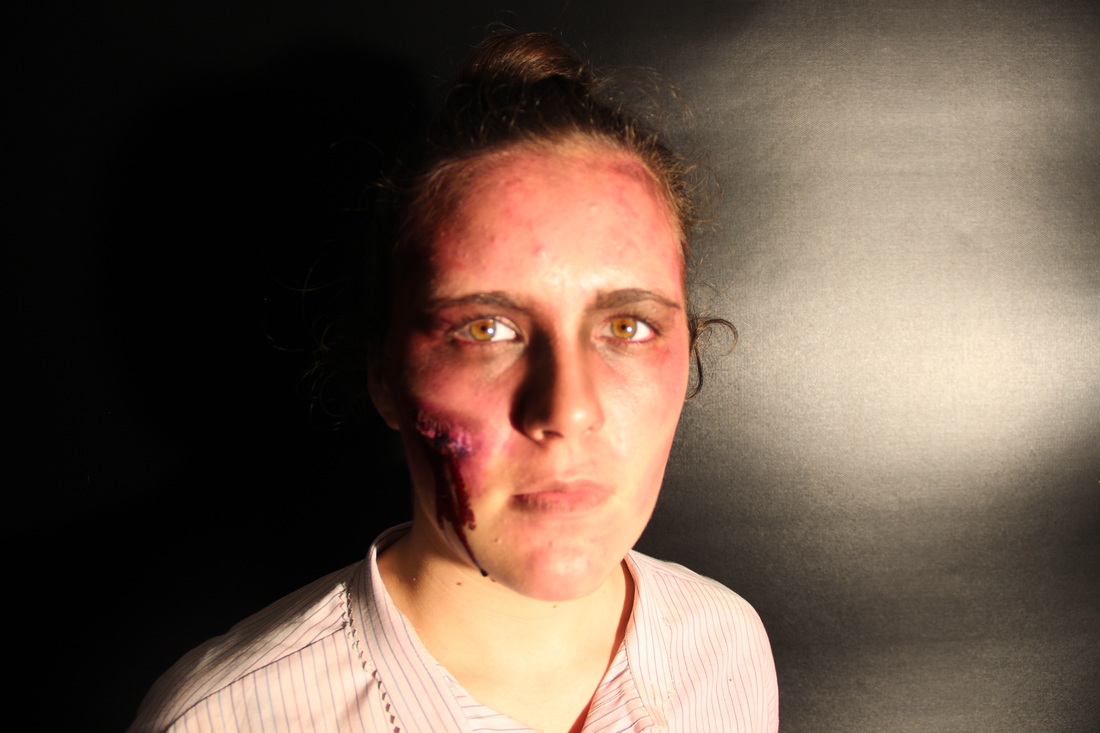
This is another photo taken during our photo shoot session
even though this image is well lit, it has a strong light source creating an uneven source of light in the background. |
This Photo is another photo we took during our photo shoot session. This photo once again was bad because it was badly lit and softly out of focus on the subjects face
|
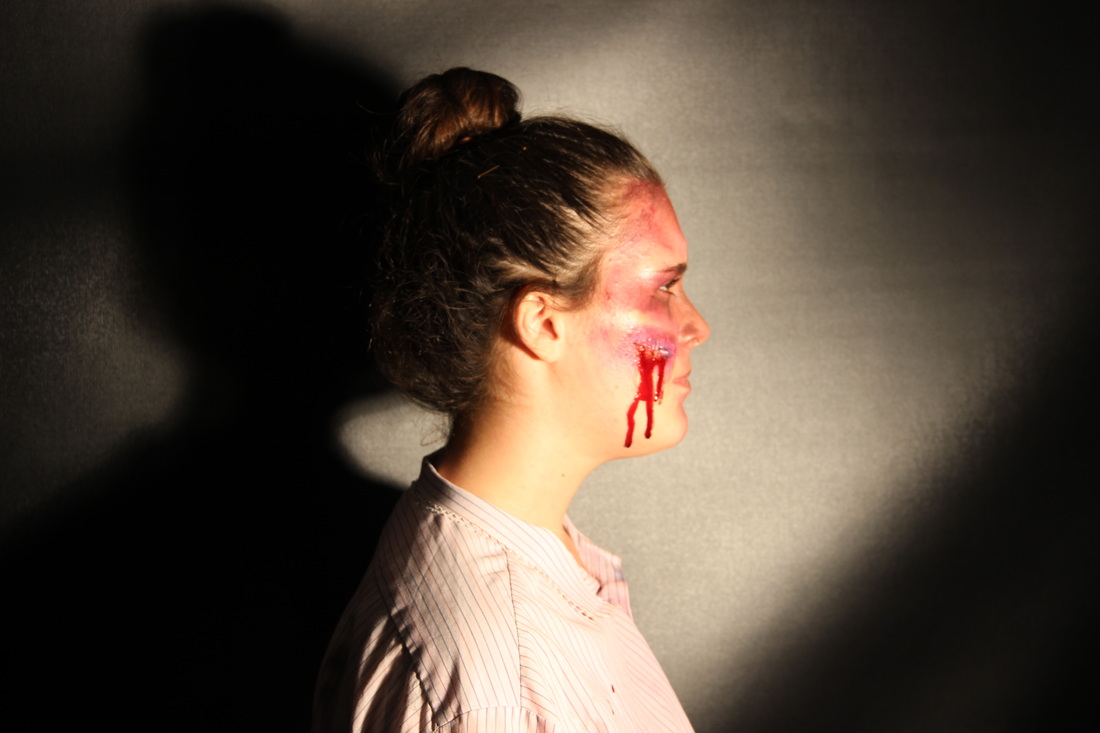
Finally with this photo as you can see this is a bad use directional lighting as the light coming from the right leaves the subjects face over exposed and creates a shadow in the background.
|
Good Still & Perfect Take
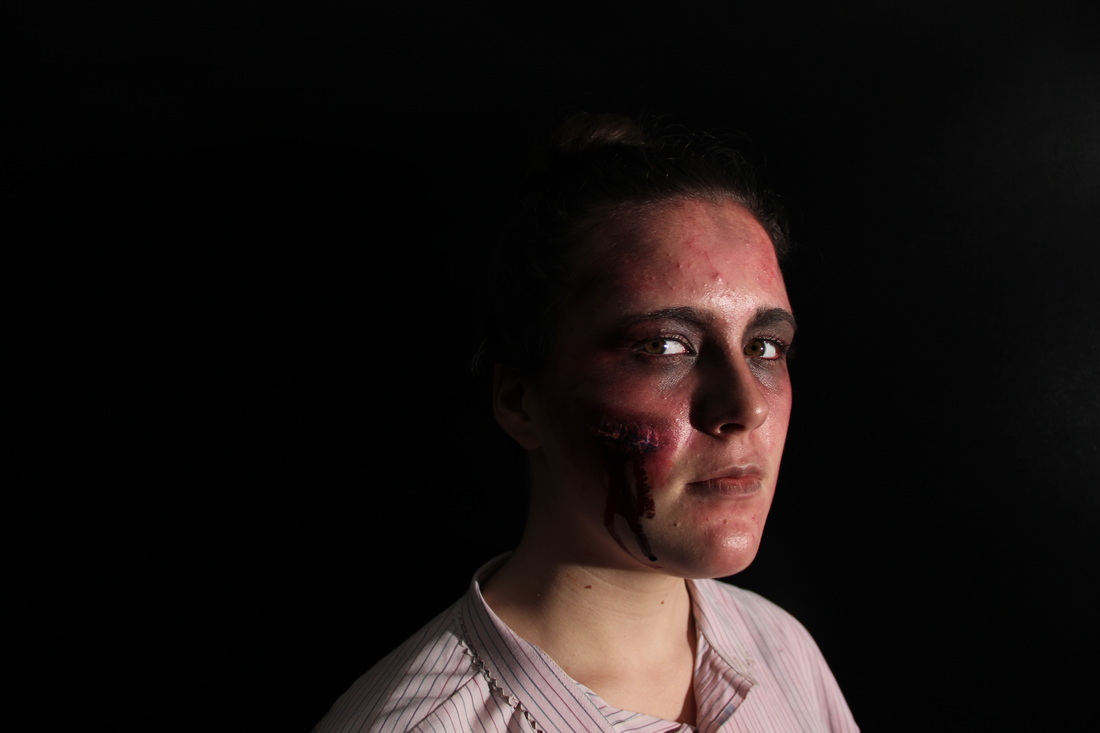
This photograph is a great example of a good photo for a magazine or poster. This picture has great directional lighting and has the right exposure and focus. The subject is sharply in focus with her scar. This makes a great image as once selected not much image manipulation on lighting because the directional lighting is perfectly soft on the subjects skin. This is a great result from using the Canon 600D and the Kino Flo.
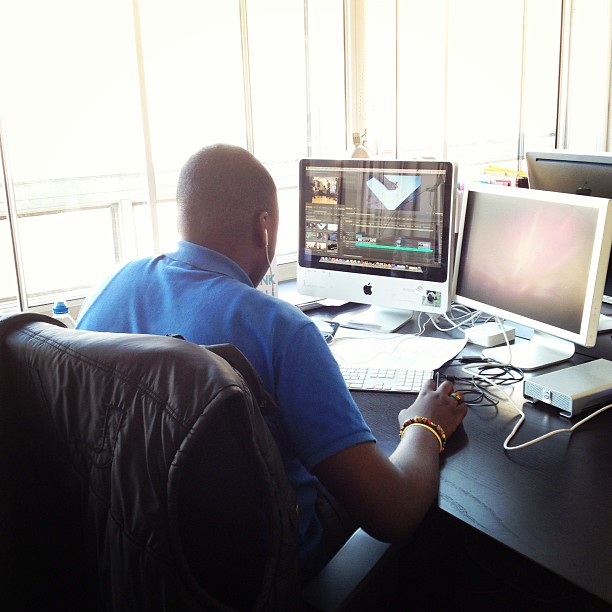
Post - Production

With final cut we firstly had to import all our video files into the project library which made it easier for us to access all our footage |
Final Cut Pro 7
This is the name of the software we used to edit our trailer after we captured our footage. We already used final cut to edit our animatic, Audience research and test shoot footage while practicing some shots on the camera. |
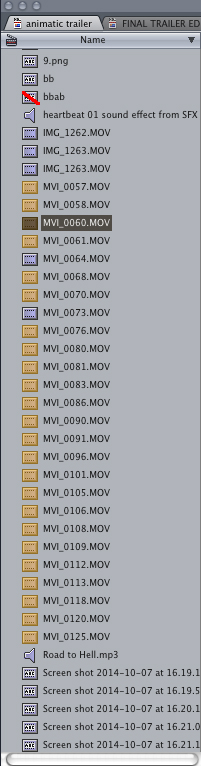
We then labelled each footage we were sure of using as 'Good Takes' which we're labelled yellow
|
After this we then began to edit by placing our captured footage over the previously edited animatic to follow the same pacing as our Edited animatic. At this stage a lot of syncing and cutting had to be done to man of the shots.
|
|
|
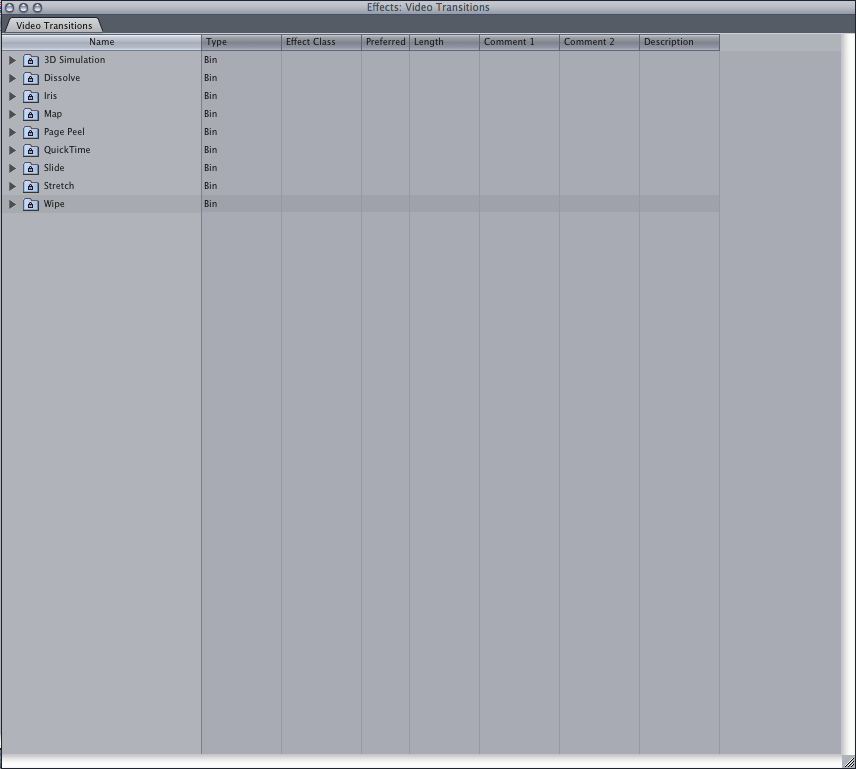
To create a crossfade we placed two video files together and cut them at the point we wished them to end with the blade tool.Then we located the effects browser, clicked video transitions and dragged the crossfade effect located in the dissolve folder, between the two footages so video file one cross fades into video file two once it ends. The cross fades were very effective as we used them to tell the narrative of the story and calm the tense down.
|
Here is a tutorial which we watched to learn how to professionally crossfade video files together and avoiding jump cuts.
|
|
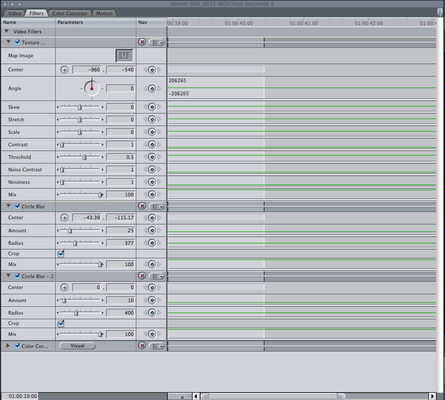
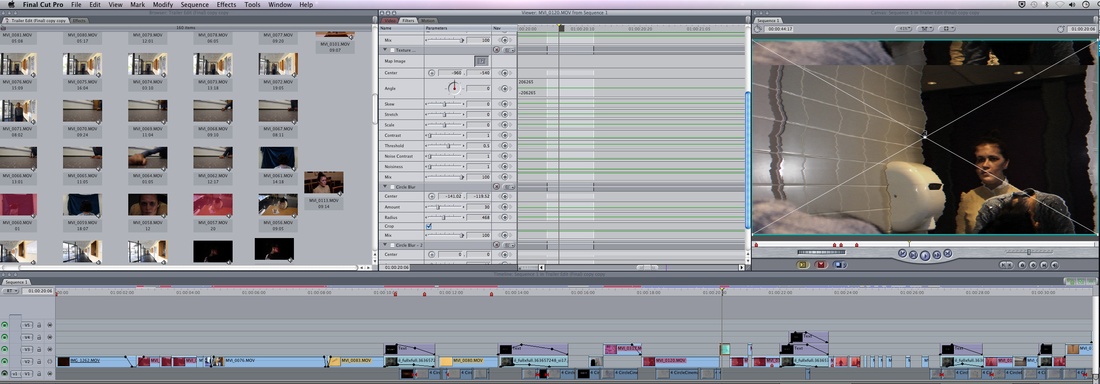
we used the: - Texture effect to give our footage the rough film look we wanted. - Circle blur & Circle blur - 2 to create the blured effect on Mrs. Tresex's face at the end of our trailer. - Colour correction to bring out the richness of our colours and give the trailer the old renaissance look it requires. - Bad TV effect - this helped contribute to the old renaissance time and gave an effect of a TV cutting up. |
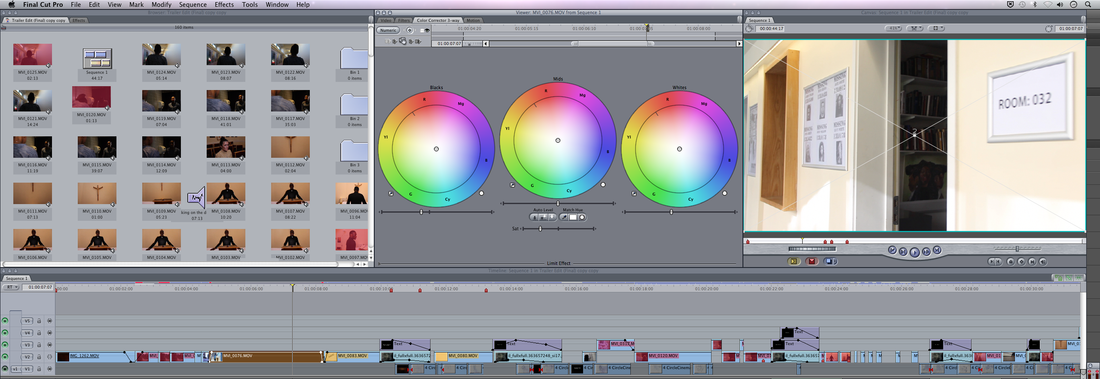
Colour Correction
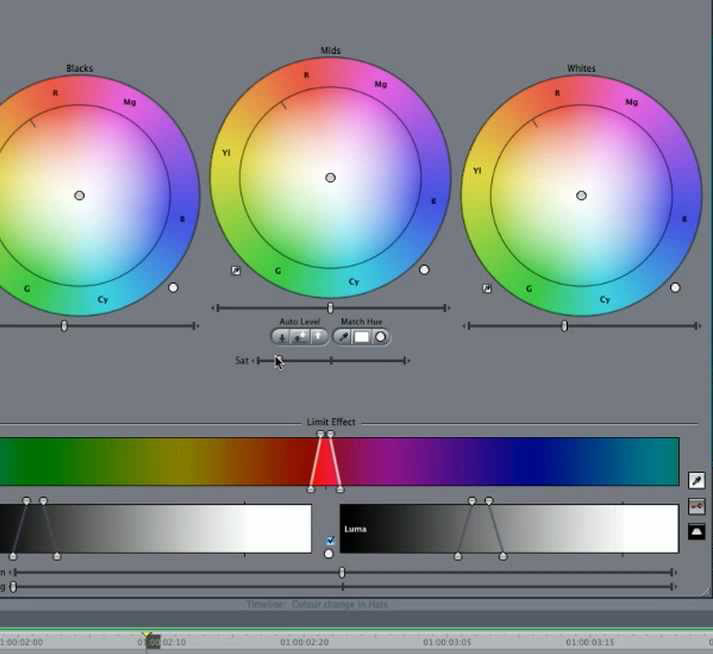
We used colour correction to make ordinary shots look more realistic and film like. In order to do so, we played with the contrast and saturation until we achieved the film look which we all wanted. This made the colour of the footage look more rich and Renaissance compared to how it was originally shot.
This is another tutorial from the same website MonkeySee.com. he explained and showed us how to colour correct our videos footages to the most professional standard.
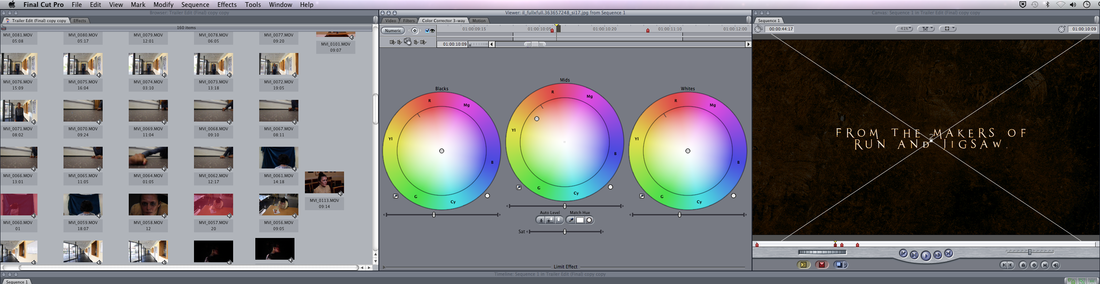
Please click the images and read the caption below each image to understand how we colour corrected.
circle blur
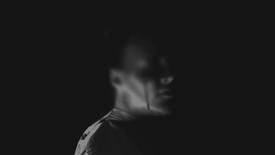
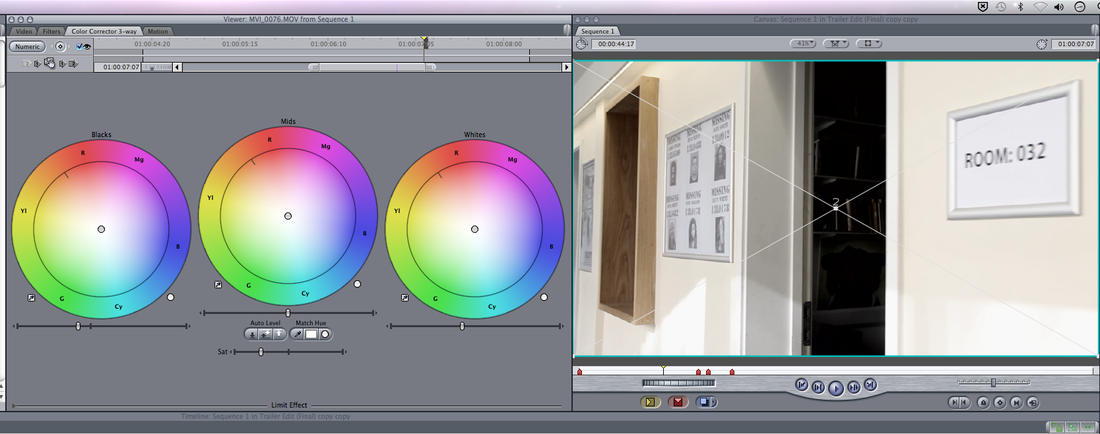
Circle Blur is an effect in Final Cut Pro which is made up of a circled shape that is literally blurred creating an out of focus effect on the video. We used this effect because even though the subject became out of focus, you could still softly see the pain and aggravation expressed without fully seeing her. This also contributed to the fear factor of our trailer as she slowly turns her head with her face blurred.
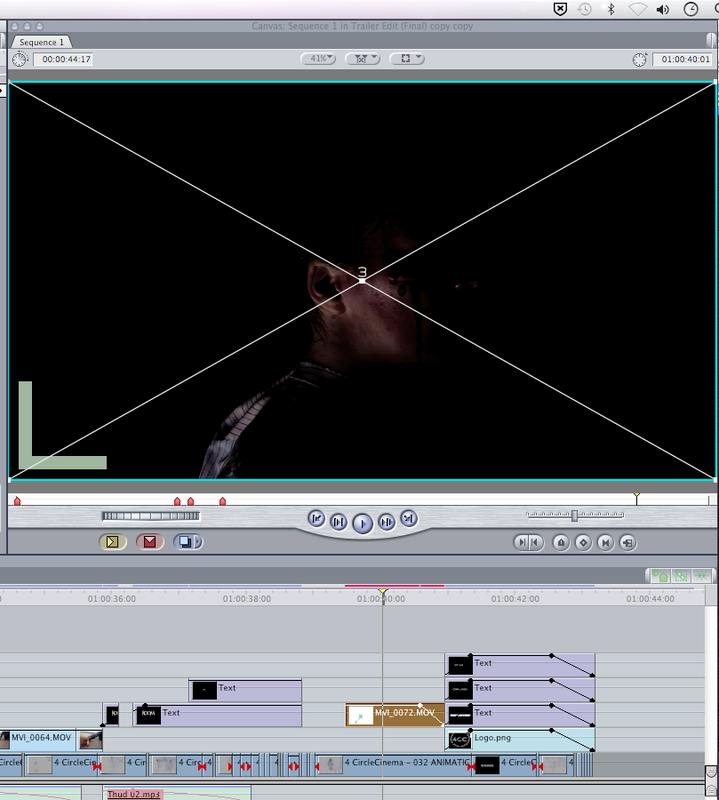
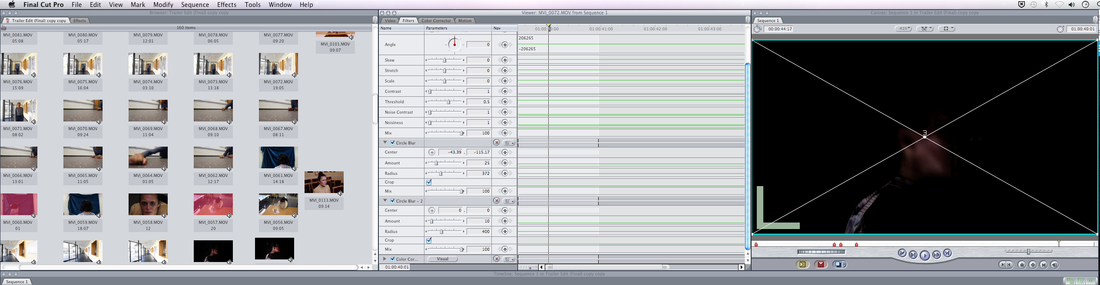
This is a section from our final edited trailer where we used the circle blur effect and as you can see from the video the subjects face is blurred and because used colour correction to change the brightness down you cannot see the actual circle section which blurs.
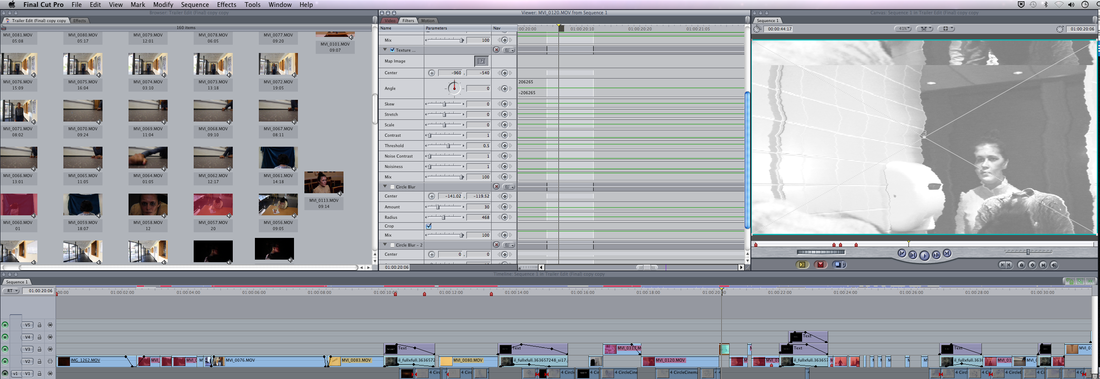
Bad TV Effect
The BadTV Effect is an effect that makes it look like a TV is going bad but within our footage. This helped specifically in the scene where Mrs. Tresex Haunts the student in the toilet by appearing behind her while she has her head down infront of the mirror. We used the bad TV effect to quickly switch and effectively show Mrs. Tresex Appear then disappear before she lifts her head up.
This is the Final Cut timeline of us adding the Bad TV effect to the toilet haunting scene of our trailer.
|
This is a short reel of us displaying the use of the Bad TV effect in our final Trailer.
|
Texture Effect
The Texture Effect in final cut pro helped in contributing and giving our trailer an old film look overall. This effect added a light grey colour with a few lines over our footage to produce an overall effect of how TV's looked in the 1900's. This contributed majorly to the main renaissance theme of our trailer and below is a visual example.

The Texture and Bad TV Effect both tie in well as the combination of this effect totally gives the Olden style TV Look we wanted in our trailer. Below is a reel of the Bad TV effect used in our trailer and majority of the time this was used it was accompanied with the Bad TV Effect.
Sound
|
|
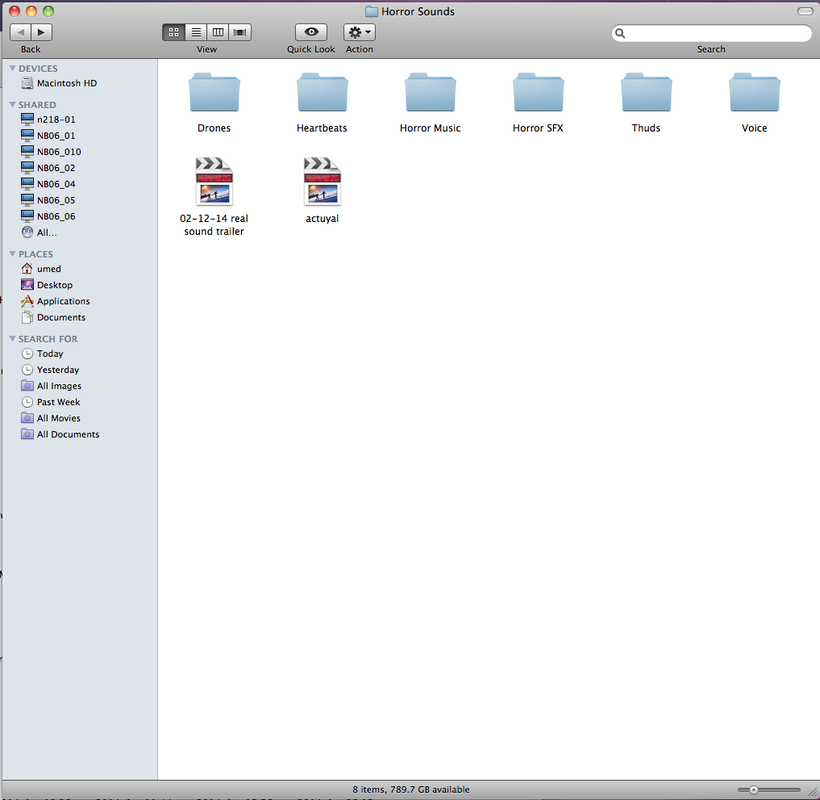
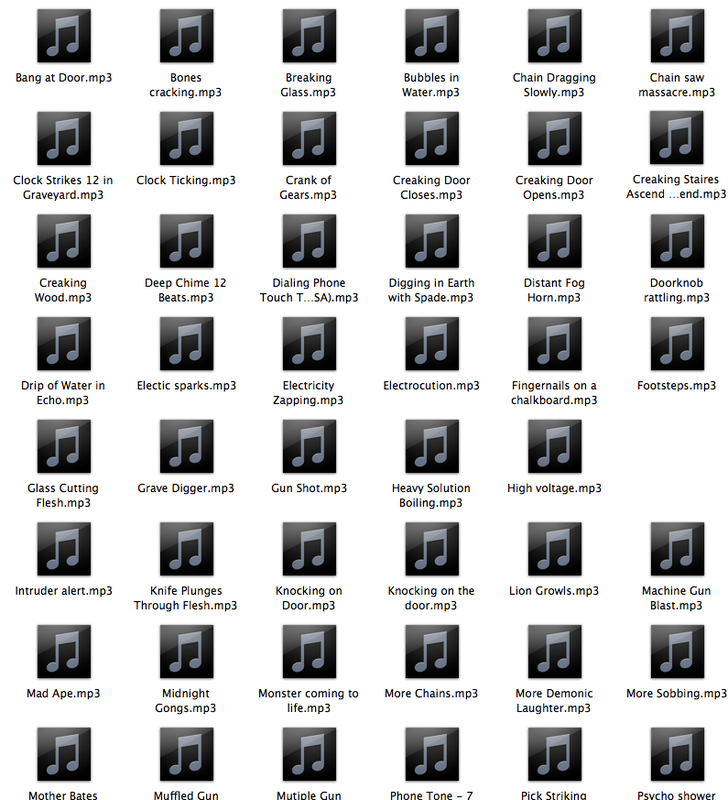
When it came to sound we still used final cut and we edited according to the animatic. we had a folder with many types of sounds such as drones, thuds, voices, horror SFX and further more. we listen to every sound individually to find the best sound possible and we then began to pick and choose the best ones. Editing sound was a key stage in the editing process as this helped push the narrative of our trailer and helped the editor sync specific cuts and effects at certain points. without the animatic sound and editing would have been really difficult and the process of doing this would have been very long. Because of copy right issues we did not download any sounds online or of existing material. neither did we record any sound that was placed in our trailer as we already had all the sound we needed in the sound folder. Overall our sound was finally completed on final cut but we did not bounce/export it to place it on sound cloud. we layered the sound under the trailer on our timeline as you see below.

|
Here is the Final Edited Sound we used for our official trailer. Click the download link and this will redirect you to another page where it will play. | ||
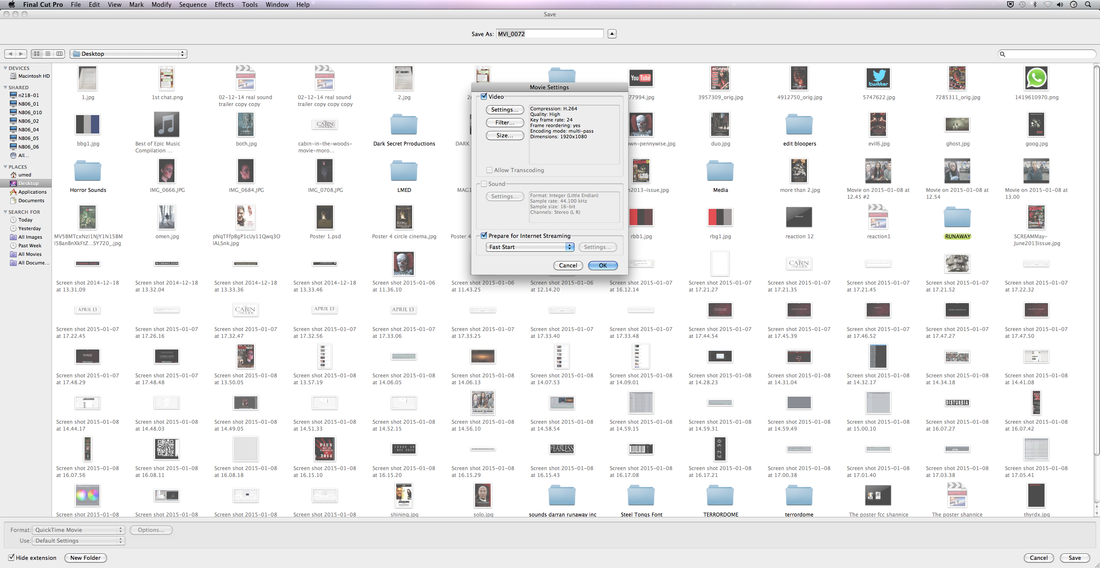
Export
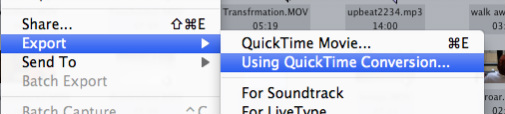
After we finished editing the trailer we exported it using wuick time conversion. this allows to you alter the quality, file size and gives you a quick time video file back. this was very helpful as we were able to quickly export our trailer at really high quality and from this we could burn the trailer unto a CD Or upload it straight to youtube for distribution and releasing of the trailer.
|

|
These two images show the exporting process we took to finally export our trailer in Full HD
Poster & magazine

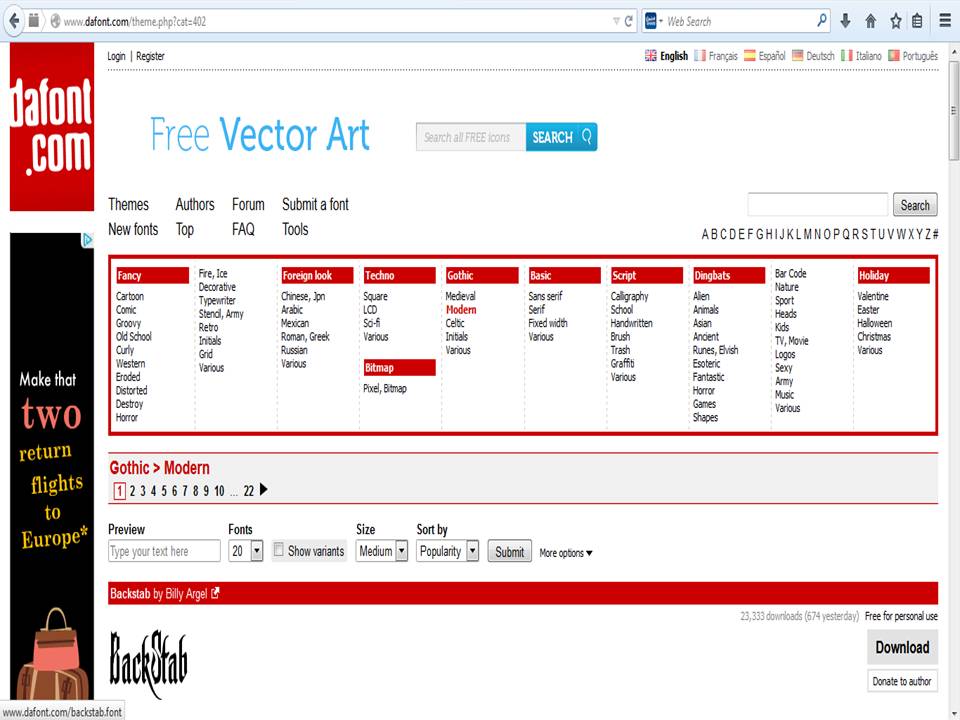
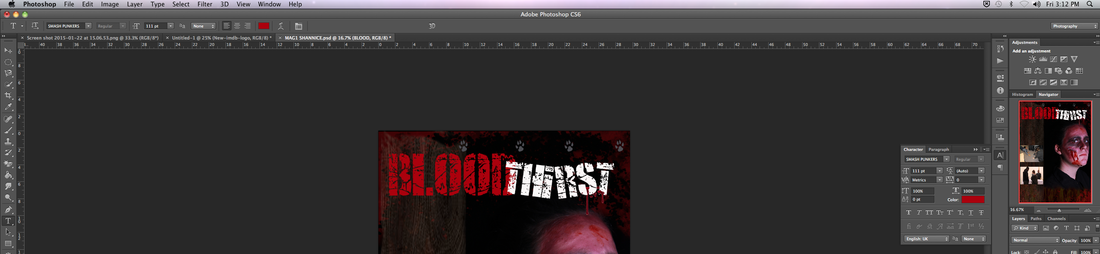
When creating our poster and magazine, the fonts on photoshop wernt like the ideal font we pictured and planned both of these products to look like. we used a website called Dafont.com to download new and exciting fonts to make sure our posters and magazine looked the best.this website gave aus a huge category of texts and categories which we could pick from. this made it easier for us to find the specific font we needed as we had a huge range. so when creating our poster and magazine it was easy to download and instal the onts unto the MAC making it quicker fo us to create our products
|
|
poster
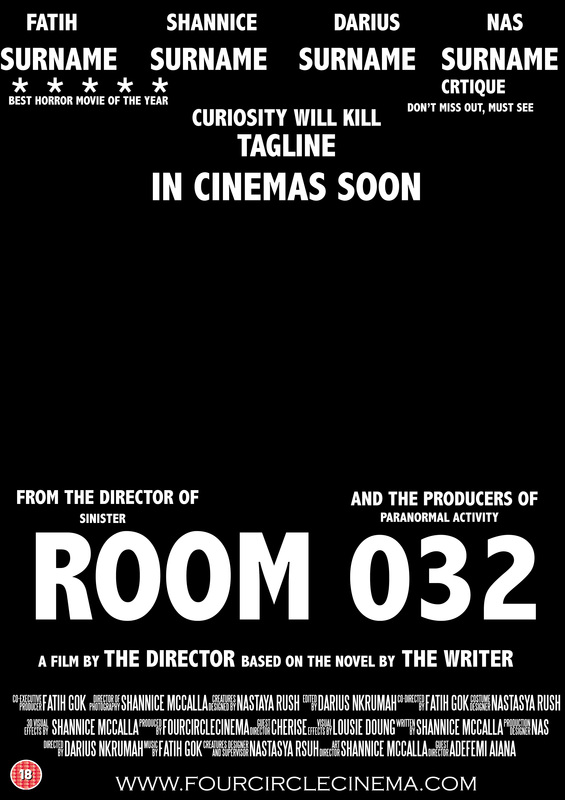
before |
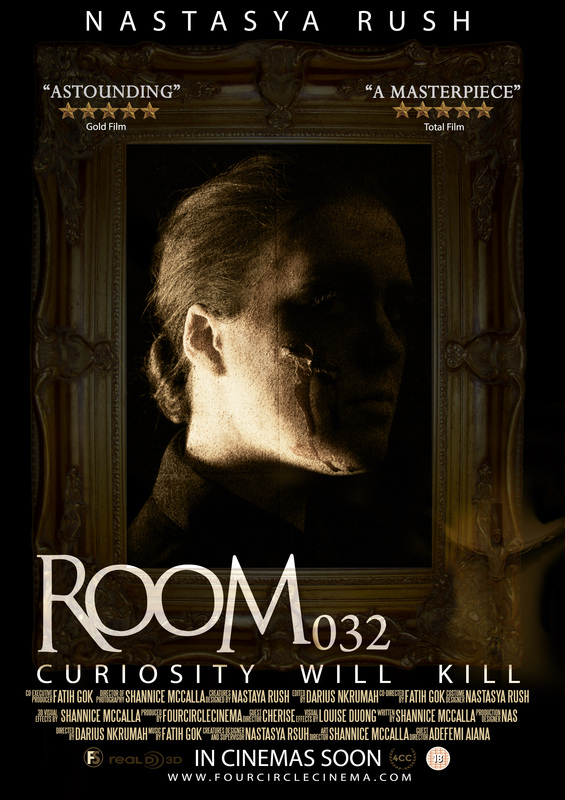
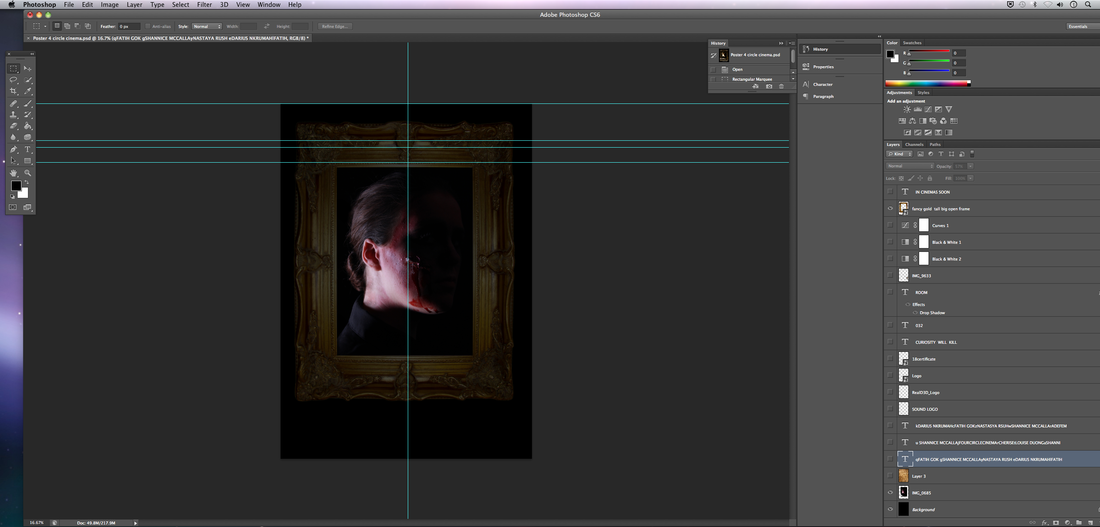
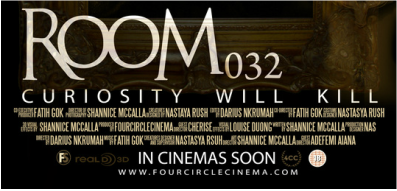
after (our final product)
|
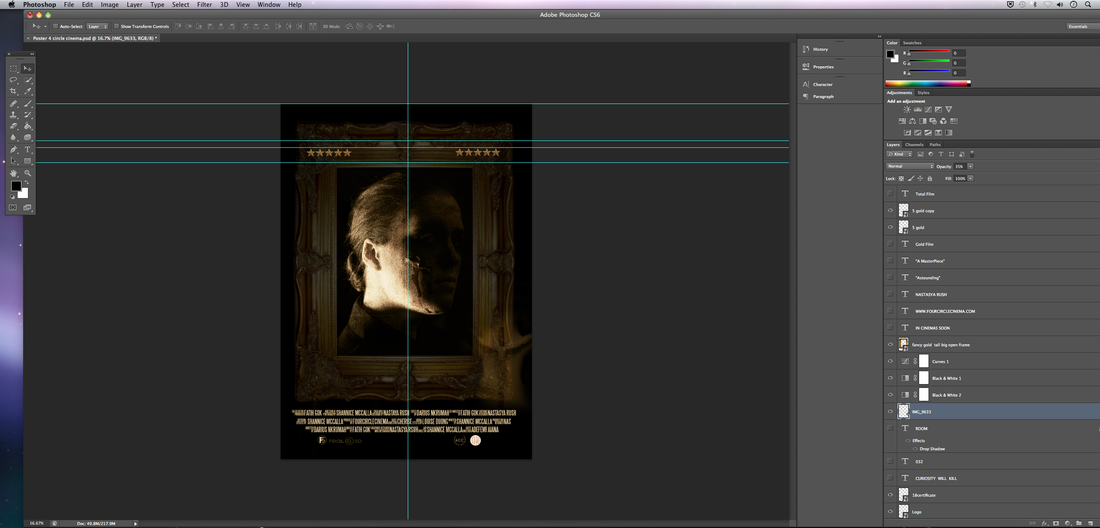
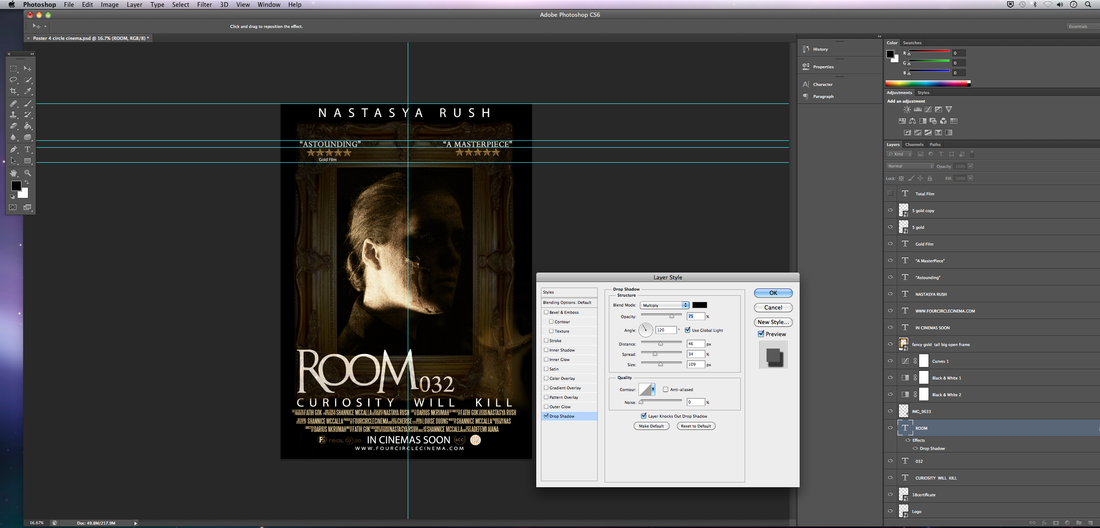
We used adobe photoshop to create our poster and export it. we all had experience using photoshop so this was the easiest part of production but all we needed to contribute was our creativity. we started by drawing drafts of posters and we converted them into digital drafts. from this we moved on to create the final poster you see above.
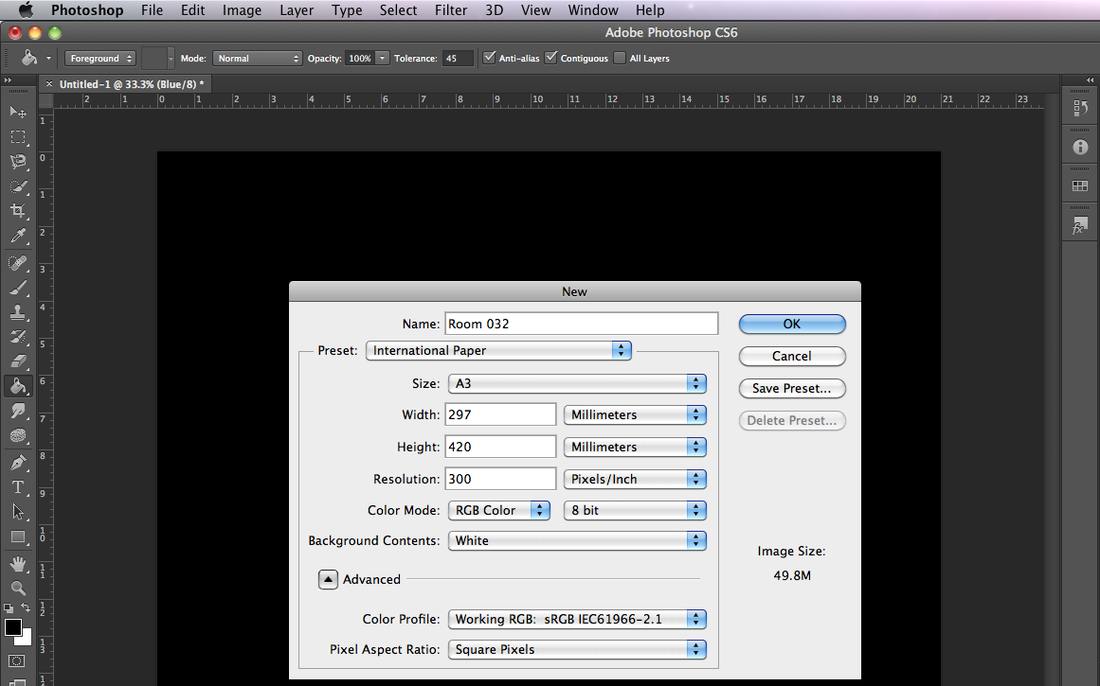
STEP 1: setting up and importing
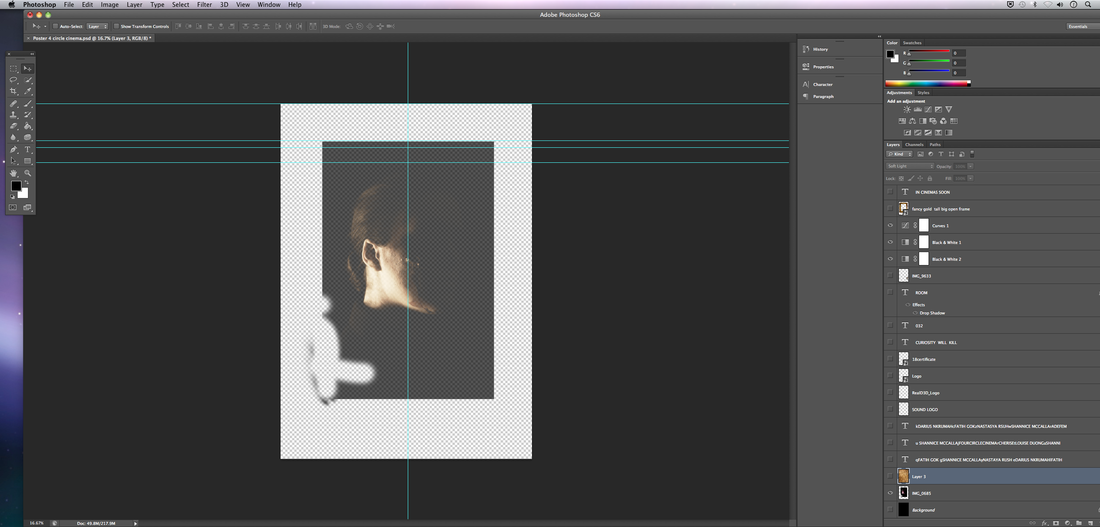
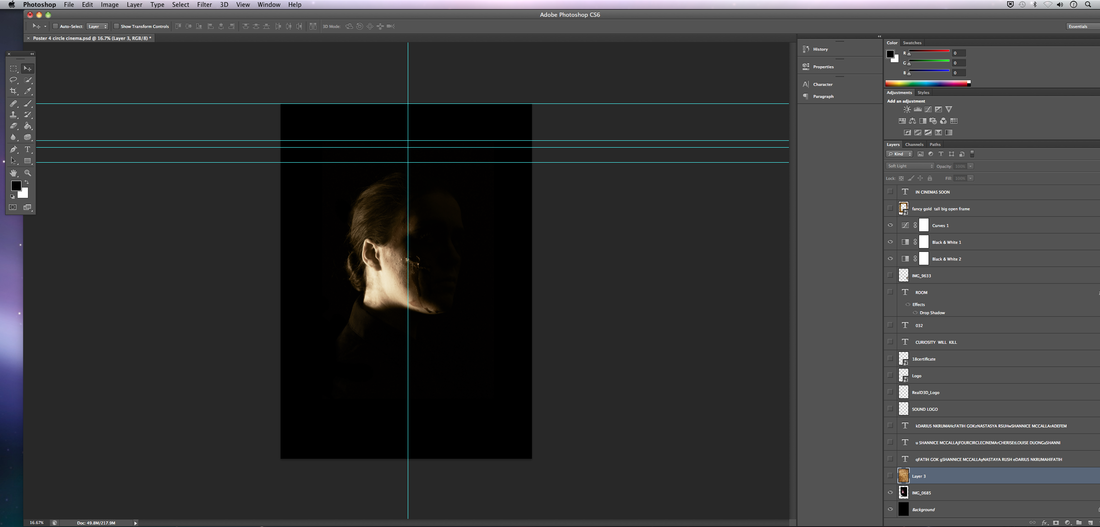
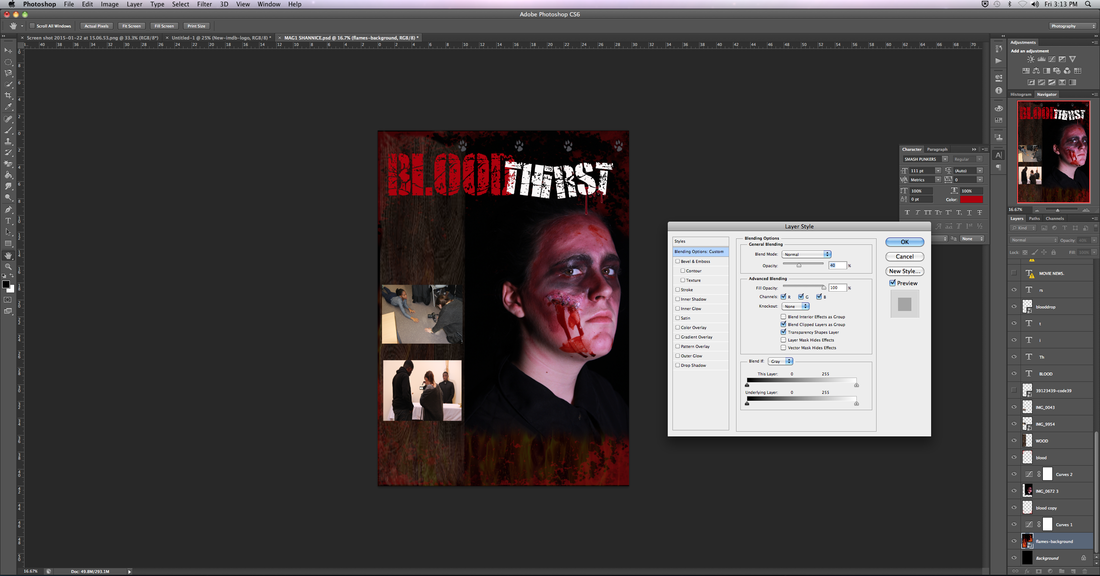
Step 2: Image Manipulation
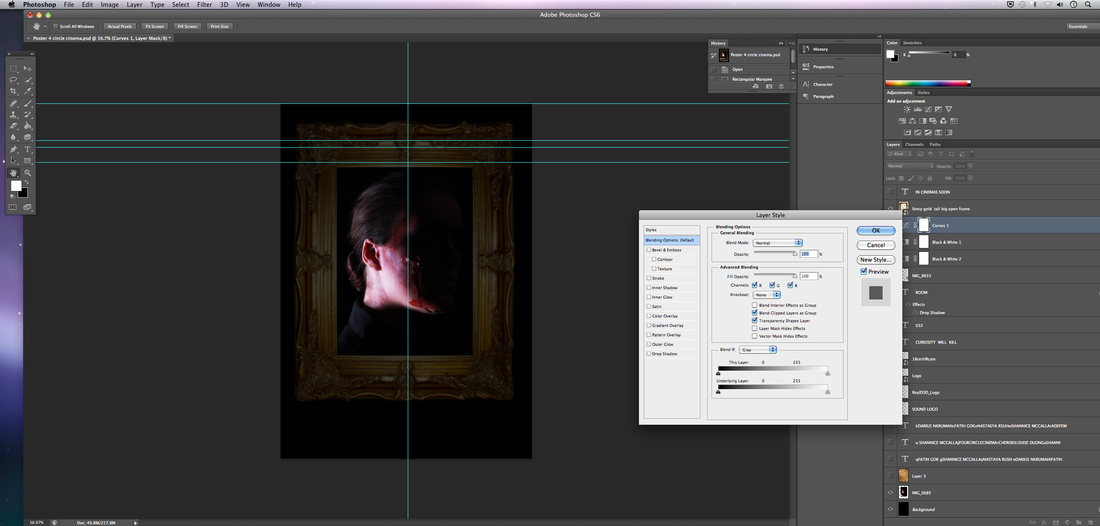
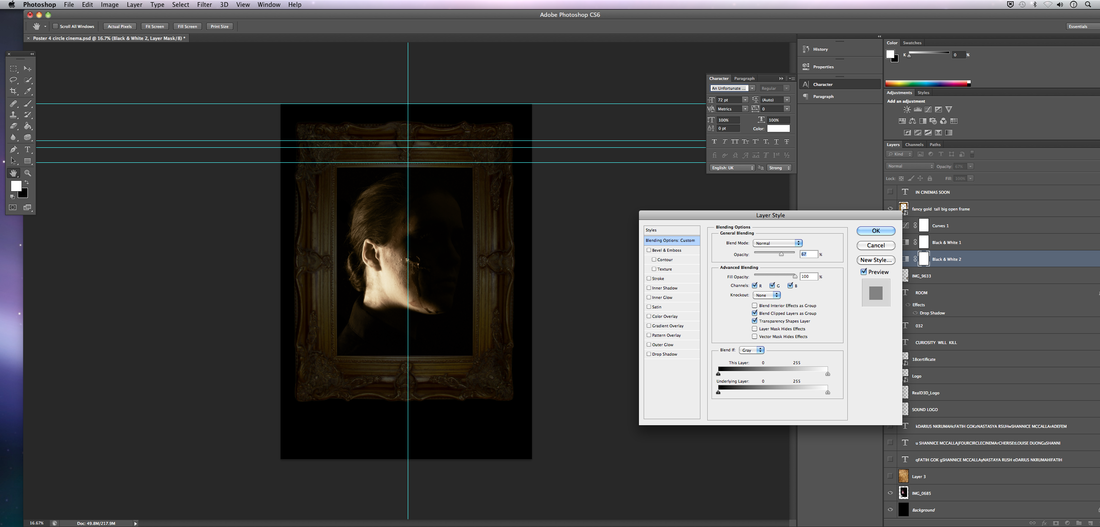
Step 3: Font/Text
Conventions
we followed the conventions of how a real poster looks by adding credits using the still tong font. we also added our website adress and logo to help our use of technology to help market the poster. |
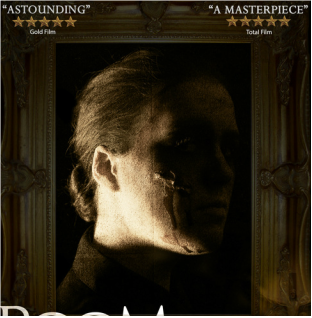
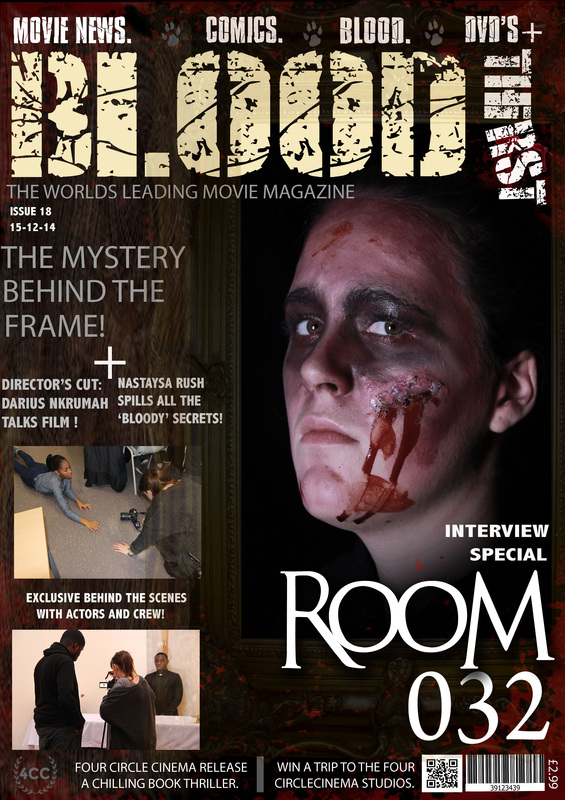
we continued to follow the conventions of a poster by placing our main image in the middle of the poster. this is also our way of branding as we used the face of the protagonist on our poster which will help contribute in advertisment and marketing of our trailer.
|
magazine

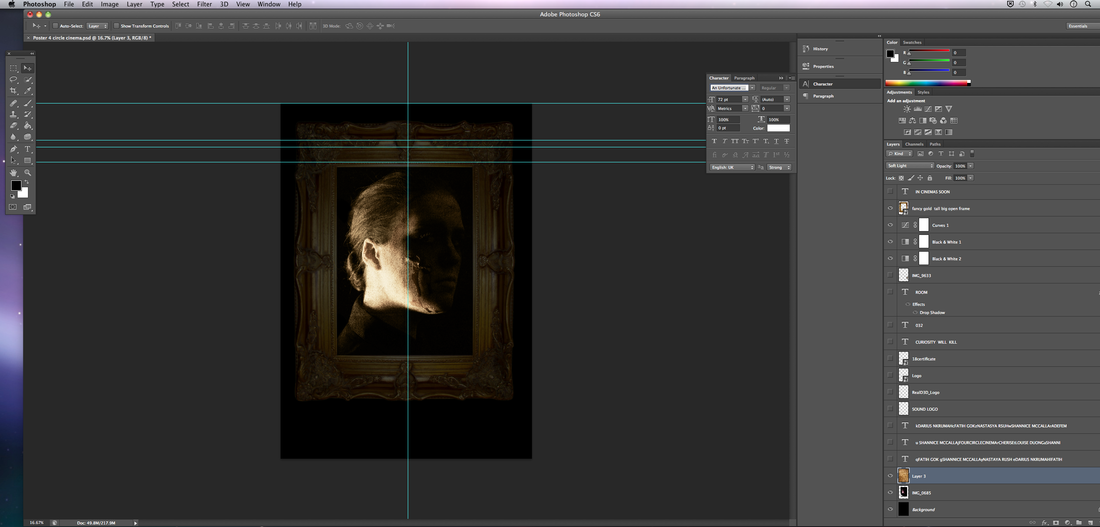
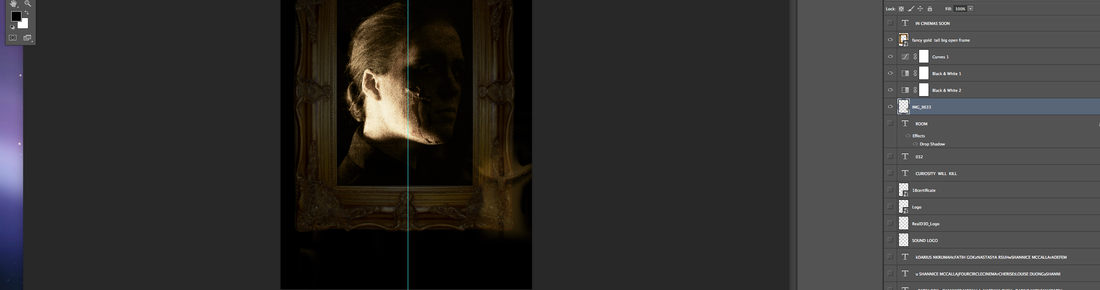
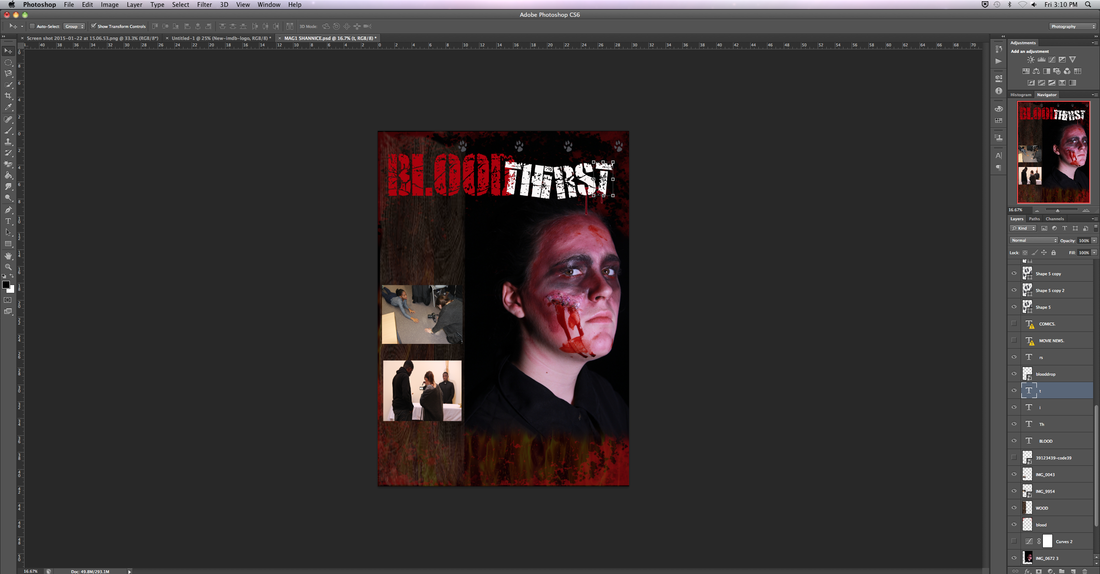
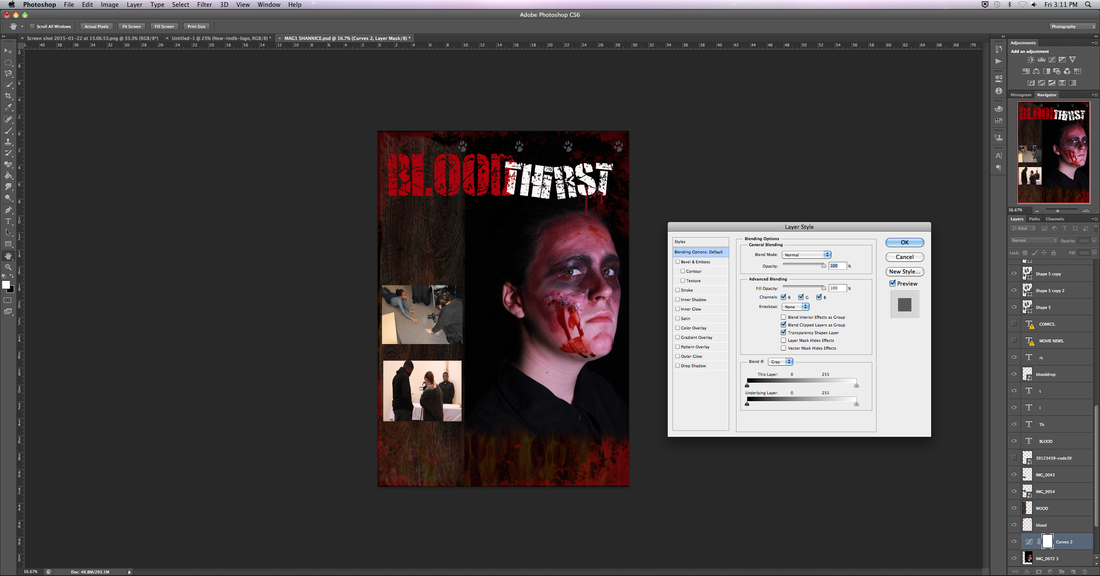
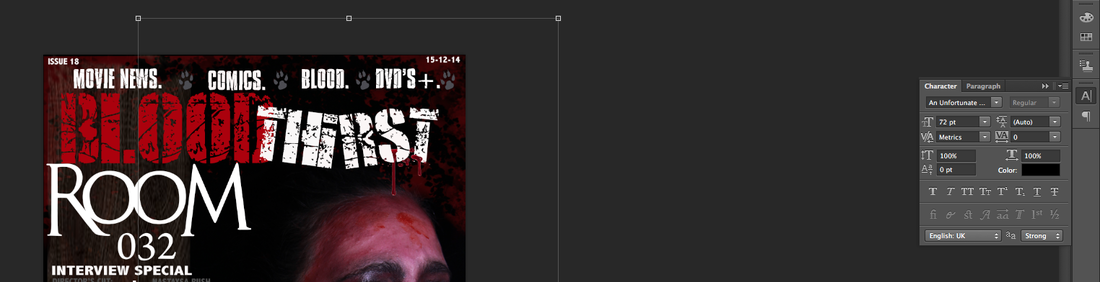
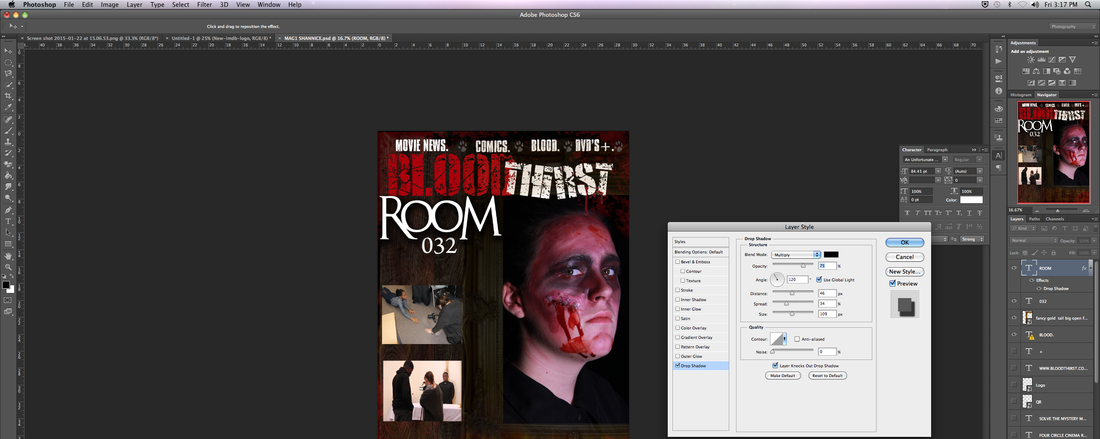
We used adobe photoshop once again to create our magazine also. eventhough we didnt fully follow the conventions of our initial plan we still abided by the conventions a professional magazine contains. we also used a more realistic image if Mrs. Tresex so that we could branch away from the movie side and give our magazine a unique more realistic look. finally we then downloaded foot print brushes to add to our magazine selling line.
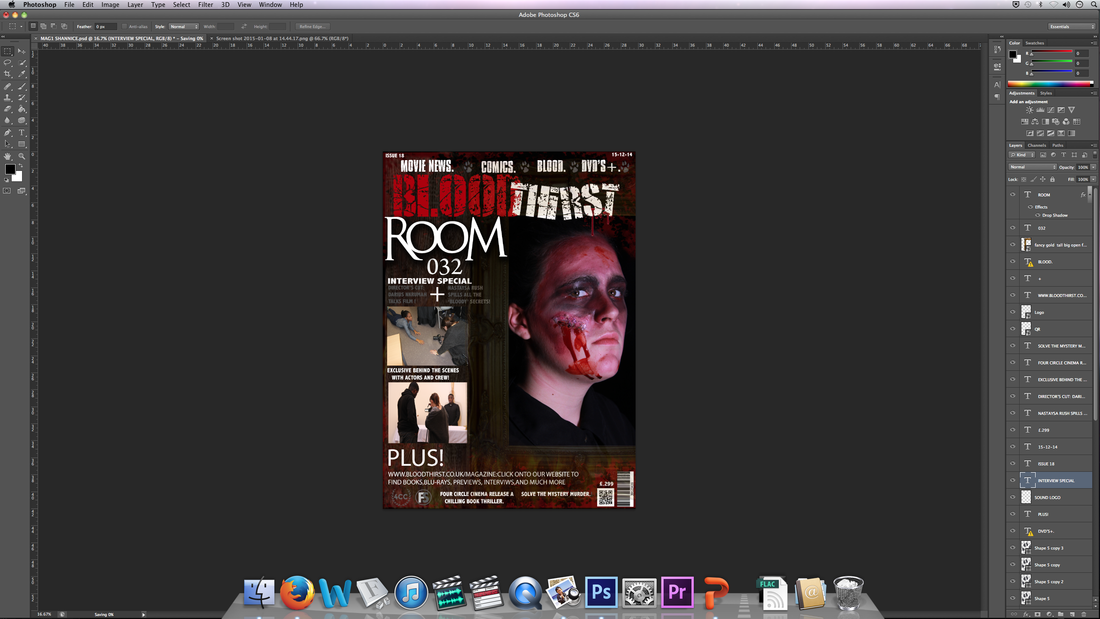
This is a screenshot of us working on our magazine using photoshop.
Magazine Stages


This was our initial plan of how we wanted our magazine to look.
|
This is our final magazine with the conventions placed diffrently
|
Overall above is the stages we took to create our magazine but after we did this we ended up with the magazine above. this magazine contains the same fonts effects and logos we used to create the magazine overall.
Conclusion
Overall technology plays a major role in the production of our trailer and through this we were able to achieve outstanding planing and research, production and post production using these various programs and equipments. The Mac is th main building block to everything you see in the creation of our trailer as it helped bridge us to accessing the internet, provuded us with useful industry used softwares and marketing and producing using quick time. overall we all lovedd using final cu8t pro as majority of us were new to this software and because we had an expert in our group there was a feel of exciting competition when we fully learned how to edit on final cut.
This whole project relies on technology and this is a key aspect of movie production.
This whole project relies on technology and this is a key aspect of movie production.
|
|
From the Stage of just writing down and drafting ideas on a possible trailer...
|
|
To the use of technology to create, edit and log our process & the use of Camera Technology...

|

|
|
Has birthed our 3 final products of a Trailer, Magazine and poster all through the use of The importance key factor; Technology.